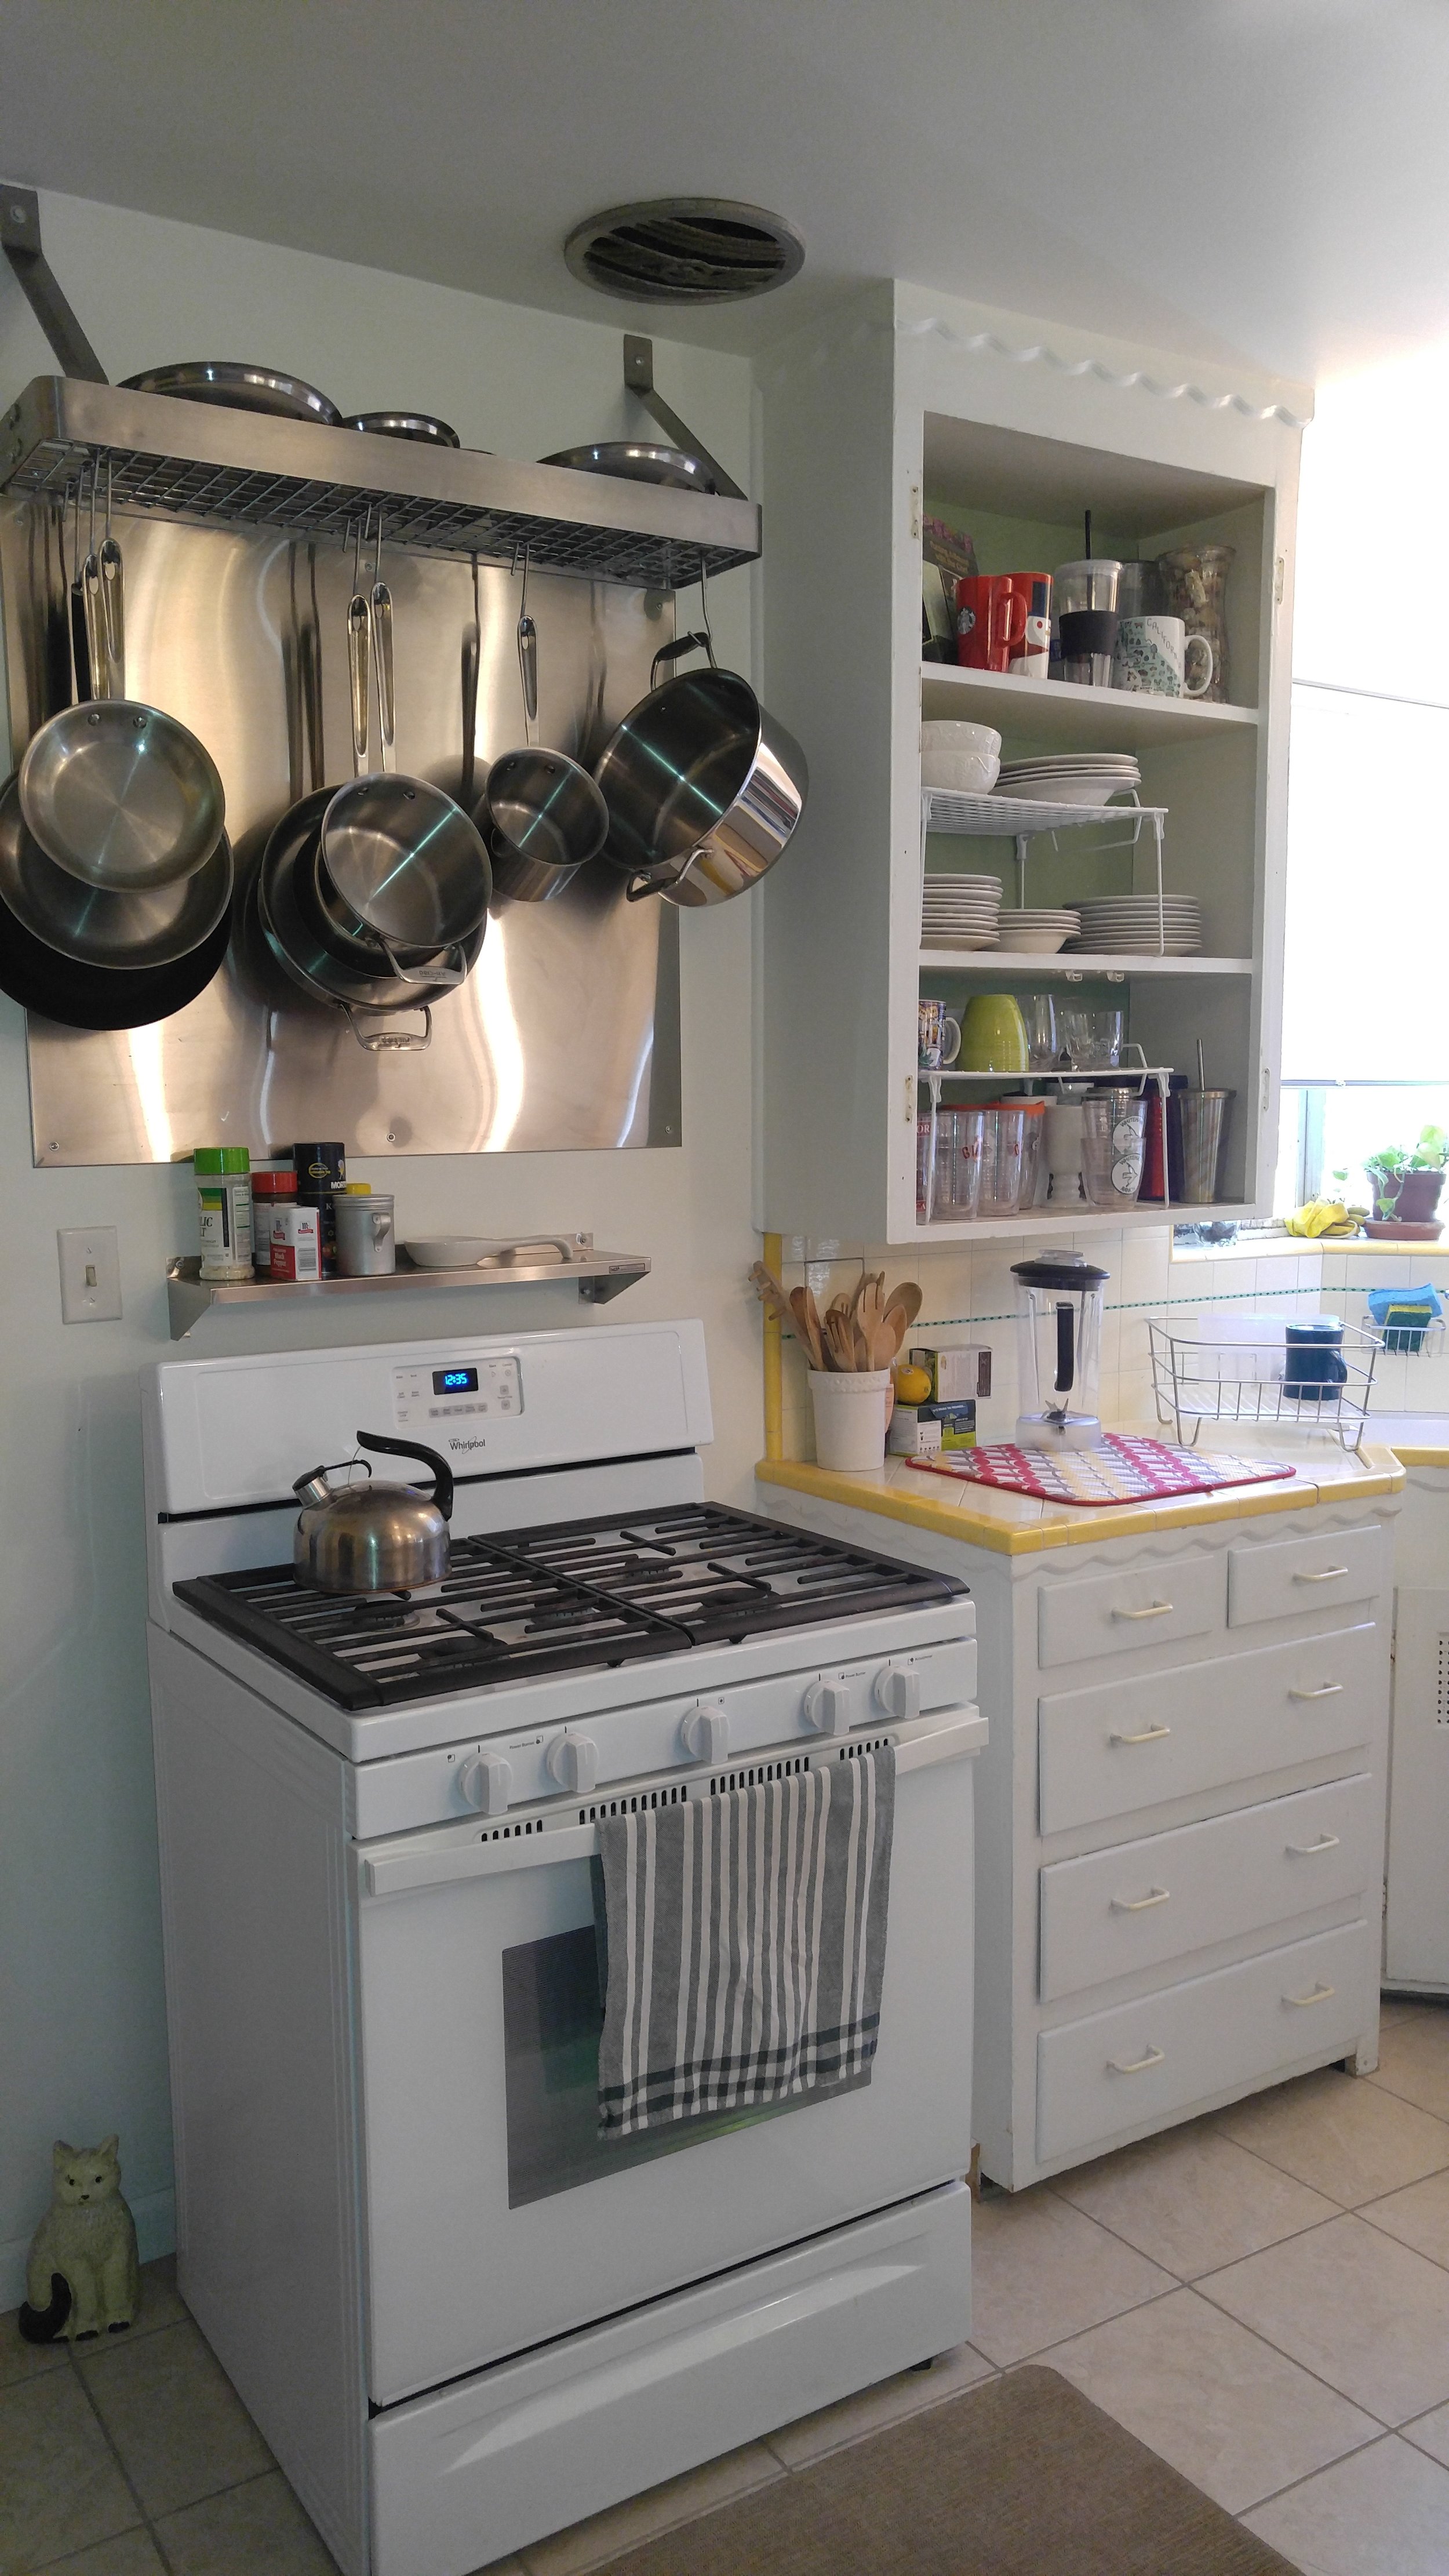
Folsom Lake Kitchen Renovation

We’ve all been in a kitchen like this… Imaging dark brown cabinets that were worn and dated, an oddly positioned peninsula with upper cabinets that create a visual barrier and dated tile countertops have the largest grout lines on the planet. I’m sure that at one time it had been a classy place to cook, but that time had passed YEARS ago.

This was the kitchen I was going to have to fix. My clients had been waiting until their kids got a bit older to make this space exactly what they wanted. They had spend over a decade saving, planning and dreaming about what they would want when they finally pulled the trigger on renovating their home. There was no cutting corners, no skimping on the quality of materials and no compromising on the functionality of the design. They were going to do it right the first time and make a space that would work for them as they transition into empty-nesters.

I was brought into this project by the contractor on the project. We had worked together on several other projects and this one was in need of some finesse to make it work well. We walked the job together and spoke with the homeowners about what they envisioned for their new space. I was hired to draft plans and provide cabinetry for the project… and so I got to work!

Blank Slate

Blank Slate

The space had great natural light and an AMAZING view of Folsom Lake. We opened up the visual space by installing a flush mount vent above the island so there would be nothing to block the light or the view. I also encouraged the client to have a bit of fun with the chandelier that would be over the dining table so that your eye would be pulled through the kitchen when you walk into the room. We also chose to use a dark stain on rift cut oak cabinets for the island and hutch area, but white painted cabinets on the left and right so there was a warmth to the space that was balanced with the lighter cabinets. All of the tall appliances, wine refrigerator and a modified pantry space were added to the tall wall and the vast number of base cabinets were filled with all types of accessories and drawers to make access to the homeowners items as easy as possible.


The last detail was completed on the afternoon on Christmas Eve. As the contractor drove away, the clients guests began to arrive to celebrate together. All the years of planning and saving, dreaming and imagining what a renovated kitchen would be like had all become reality and this finished project was precisely what these clients deserved.


Land Park Kitchen Renovation

This lovely brick duplex in upper Land Park was built in 1942 and in need of some serious updating. My clients found me online and asked me to help bring their tiny kitchen into the 21st Century. They wanted to keep the look of the kitchen similar to what was existing but also wanted to add some modern amenities like… a dishwasher.

I knew we would lose some storage because of the dishwasher so I planned on adding bench seating to regain some of the storage space. The clients had recently installed new tile flooring that they wanted to keep, so the footprint of the new kitchen had to match up with the old layout.

This is the area I had to work with…

Tiny spaces require some extra creativity! The clients wanted to upgrade to a full size refrigerator, add a dishwasher, increase storage and improve access to items in the cabinets.

We selected a traditional shaker style door in matte white paint for the cabinets and a white quartz for the countertops. The clients selected a marble mosaic backsplash that give a feel of timeless elegance. The angled sink and wall mounted faucet keep the feel of a vintage kitchen while adding modern appliances and finishes make this little kitchen photo worthy!

So there she is… a sweet little renovation that still feels like a vintage space.

If you are interested in a renovation of your space, give me a call and let’s chat!

~Amanda

916-801-5076

Everything About the Kitchen Sink

Let this SINK in...

When you're in the midst of a kitchen remodel you may spend time and money thinking about "everything but the kitchen sink." The truth is, the sink is one of the hardest working parts of every kitchen and deserves a bit of thoughtful consideration to ensure you have a sink that functions perfectly for your needs. 

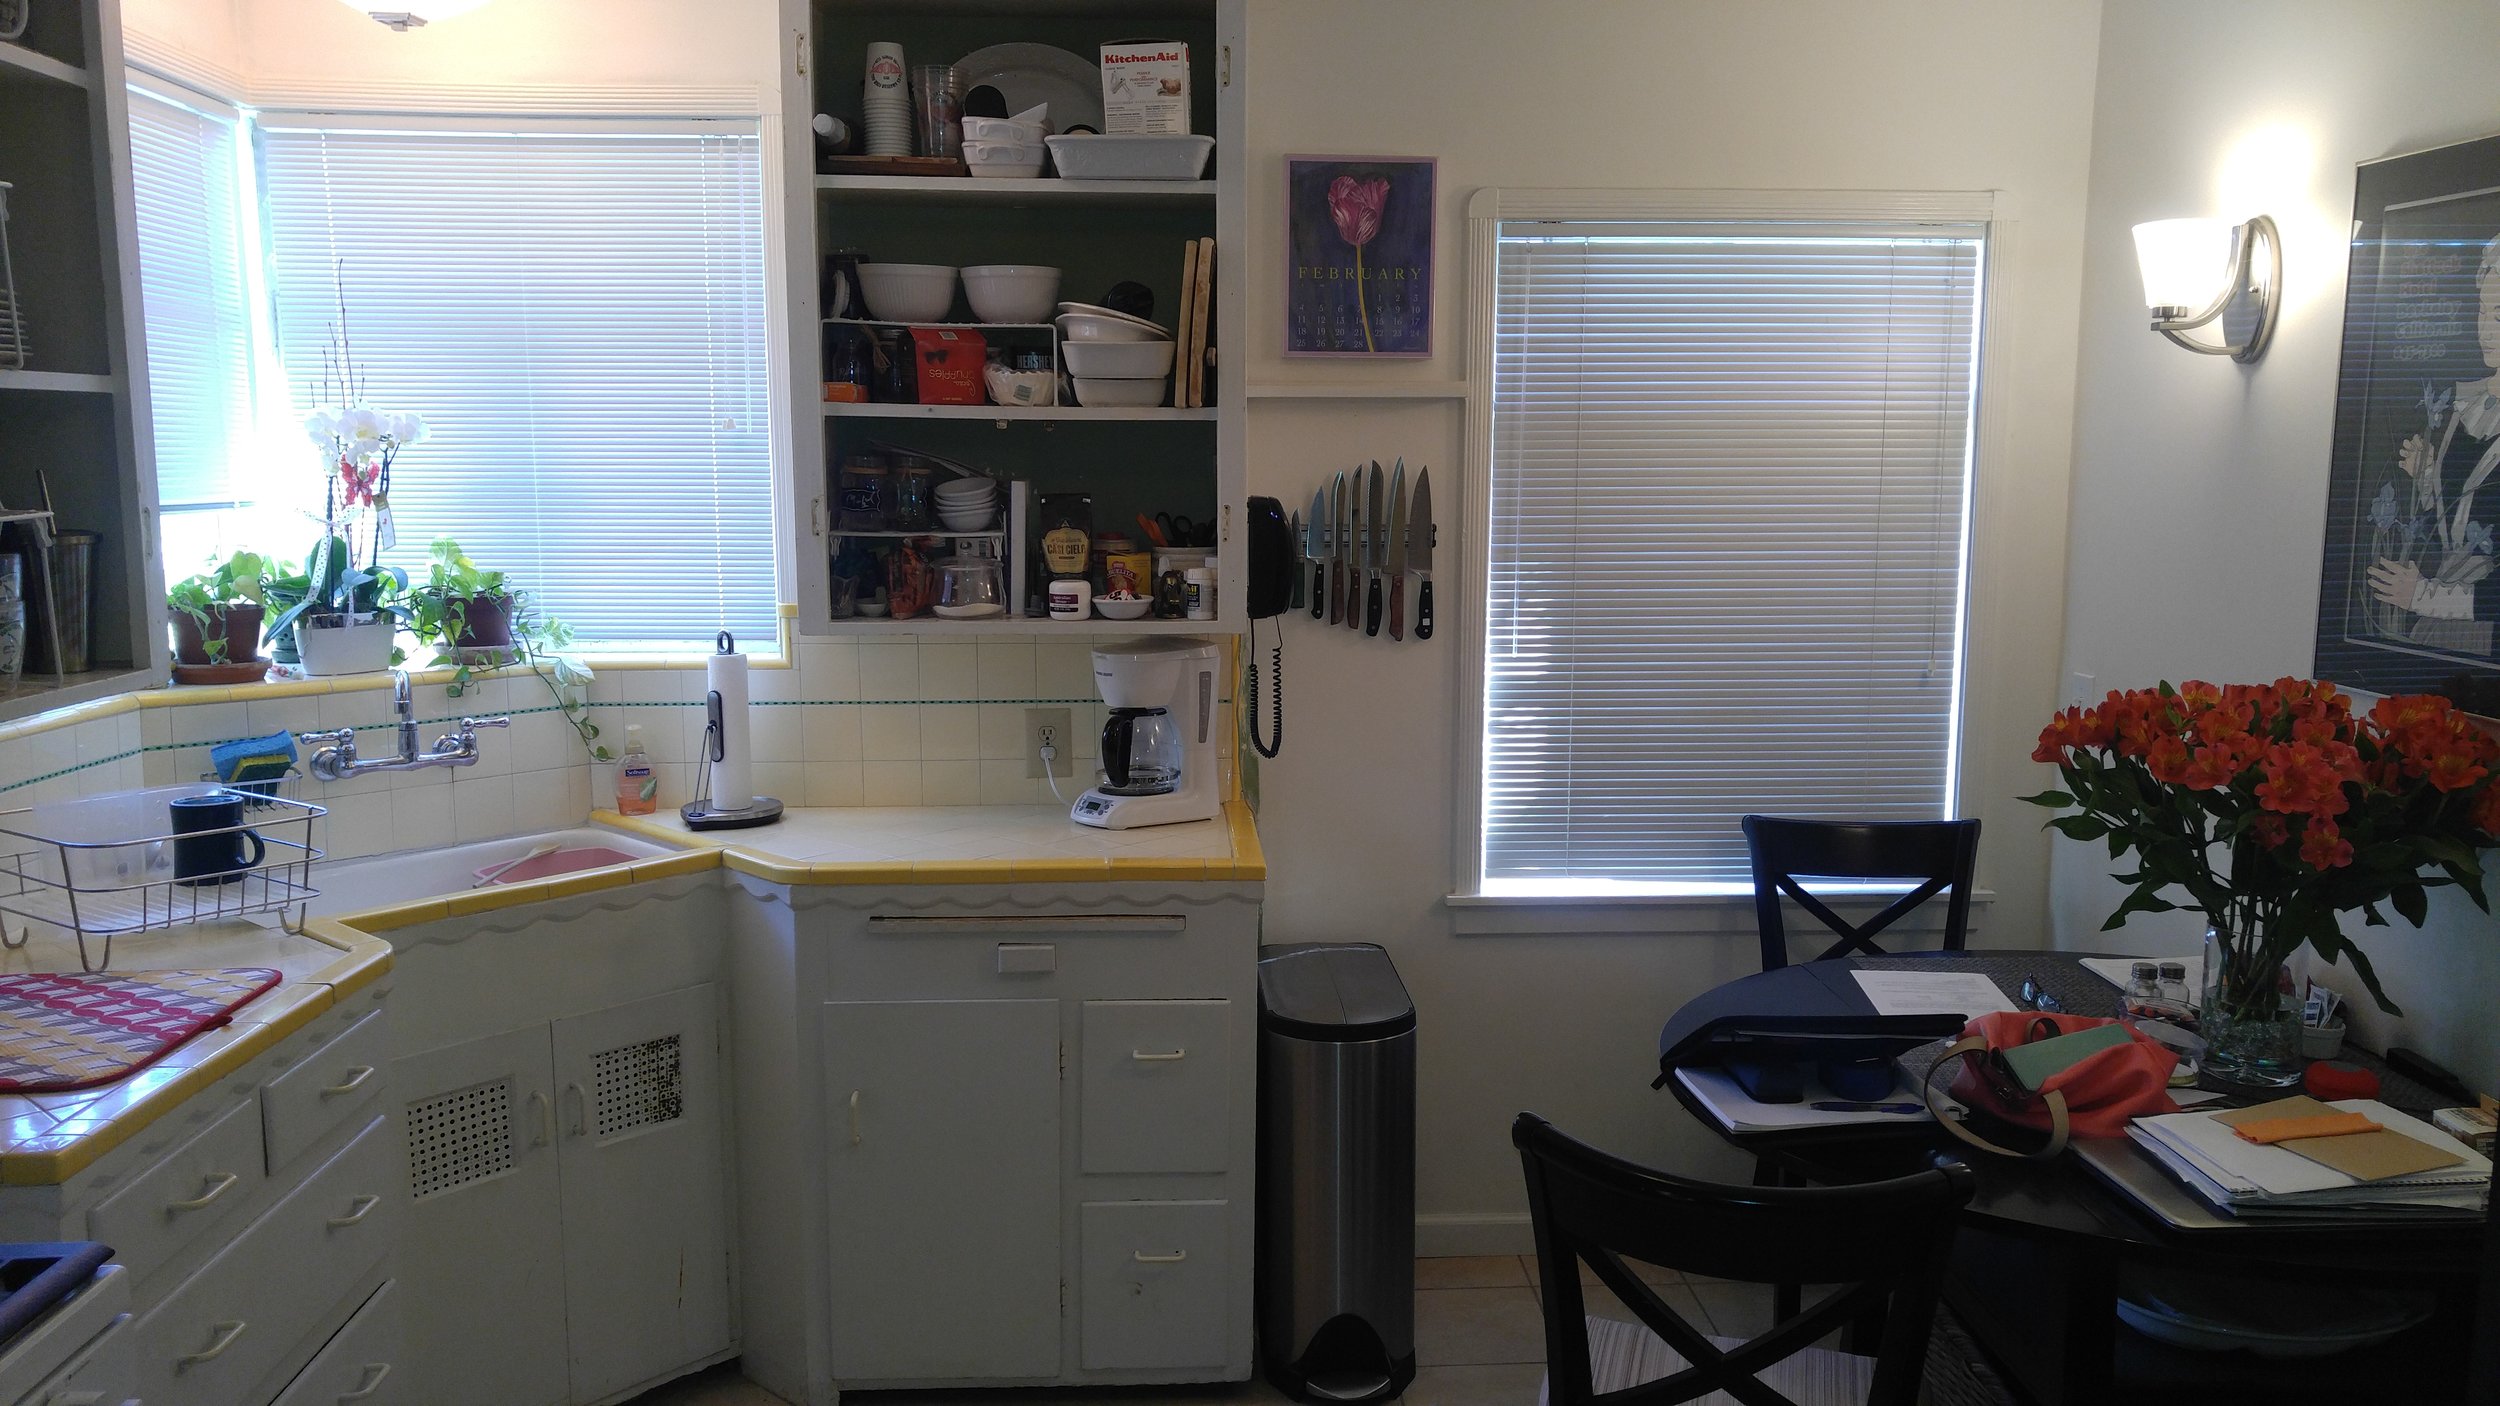
When I first walk through a client's kitchen there are a few things to which I'm always careful to pay particular attention. The sink is one area that I like to address in my initial consultation because it gets clients thinking about function and convenience rather than just focusing on style. There are a few basic choices that can help you narrow down your options and ensure you end up with the right sink for your home.

Drop in or Under mount

A Drop in sink will be a good solution if you aren't replacing the existing countertop as you may be able to select a slightly larger sink than you currently have and there won't be any gaps to fill in the countertop.  If you select this option there are a few things to note. You'll have a silicone seam around the raised perimeter of the sink which will make wiping off the countertops a bit more difficult.  You'll also want to make sure that any new sink you select will fit fully within the base cabinet if you replace an existing sink with a larger new one.  I try to avoid using drop in sinks if at all possible. *The exception is a vessel sink in a powder room or guest bathroom.

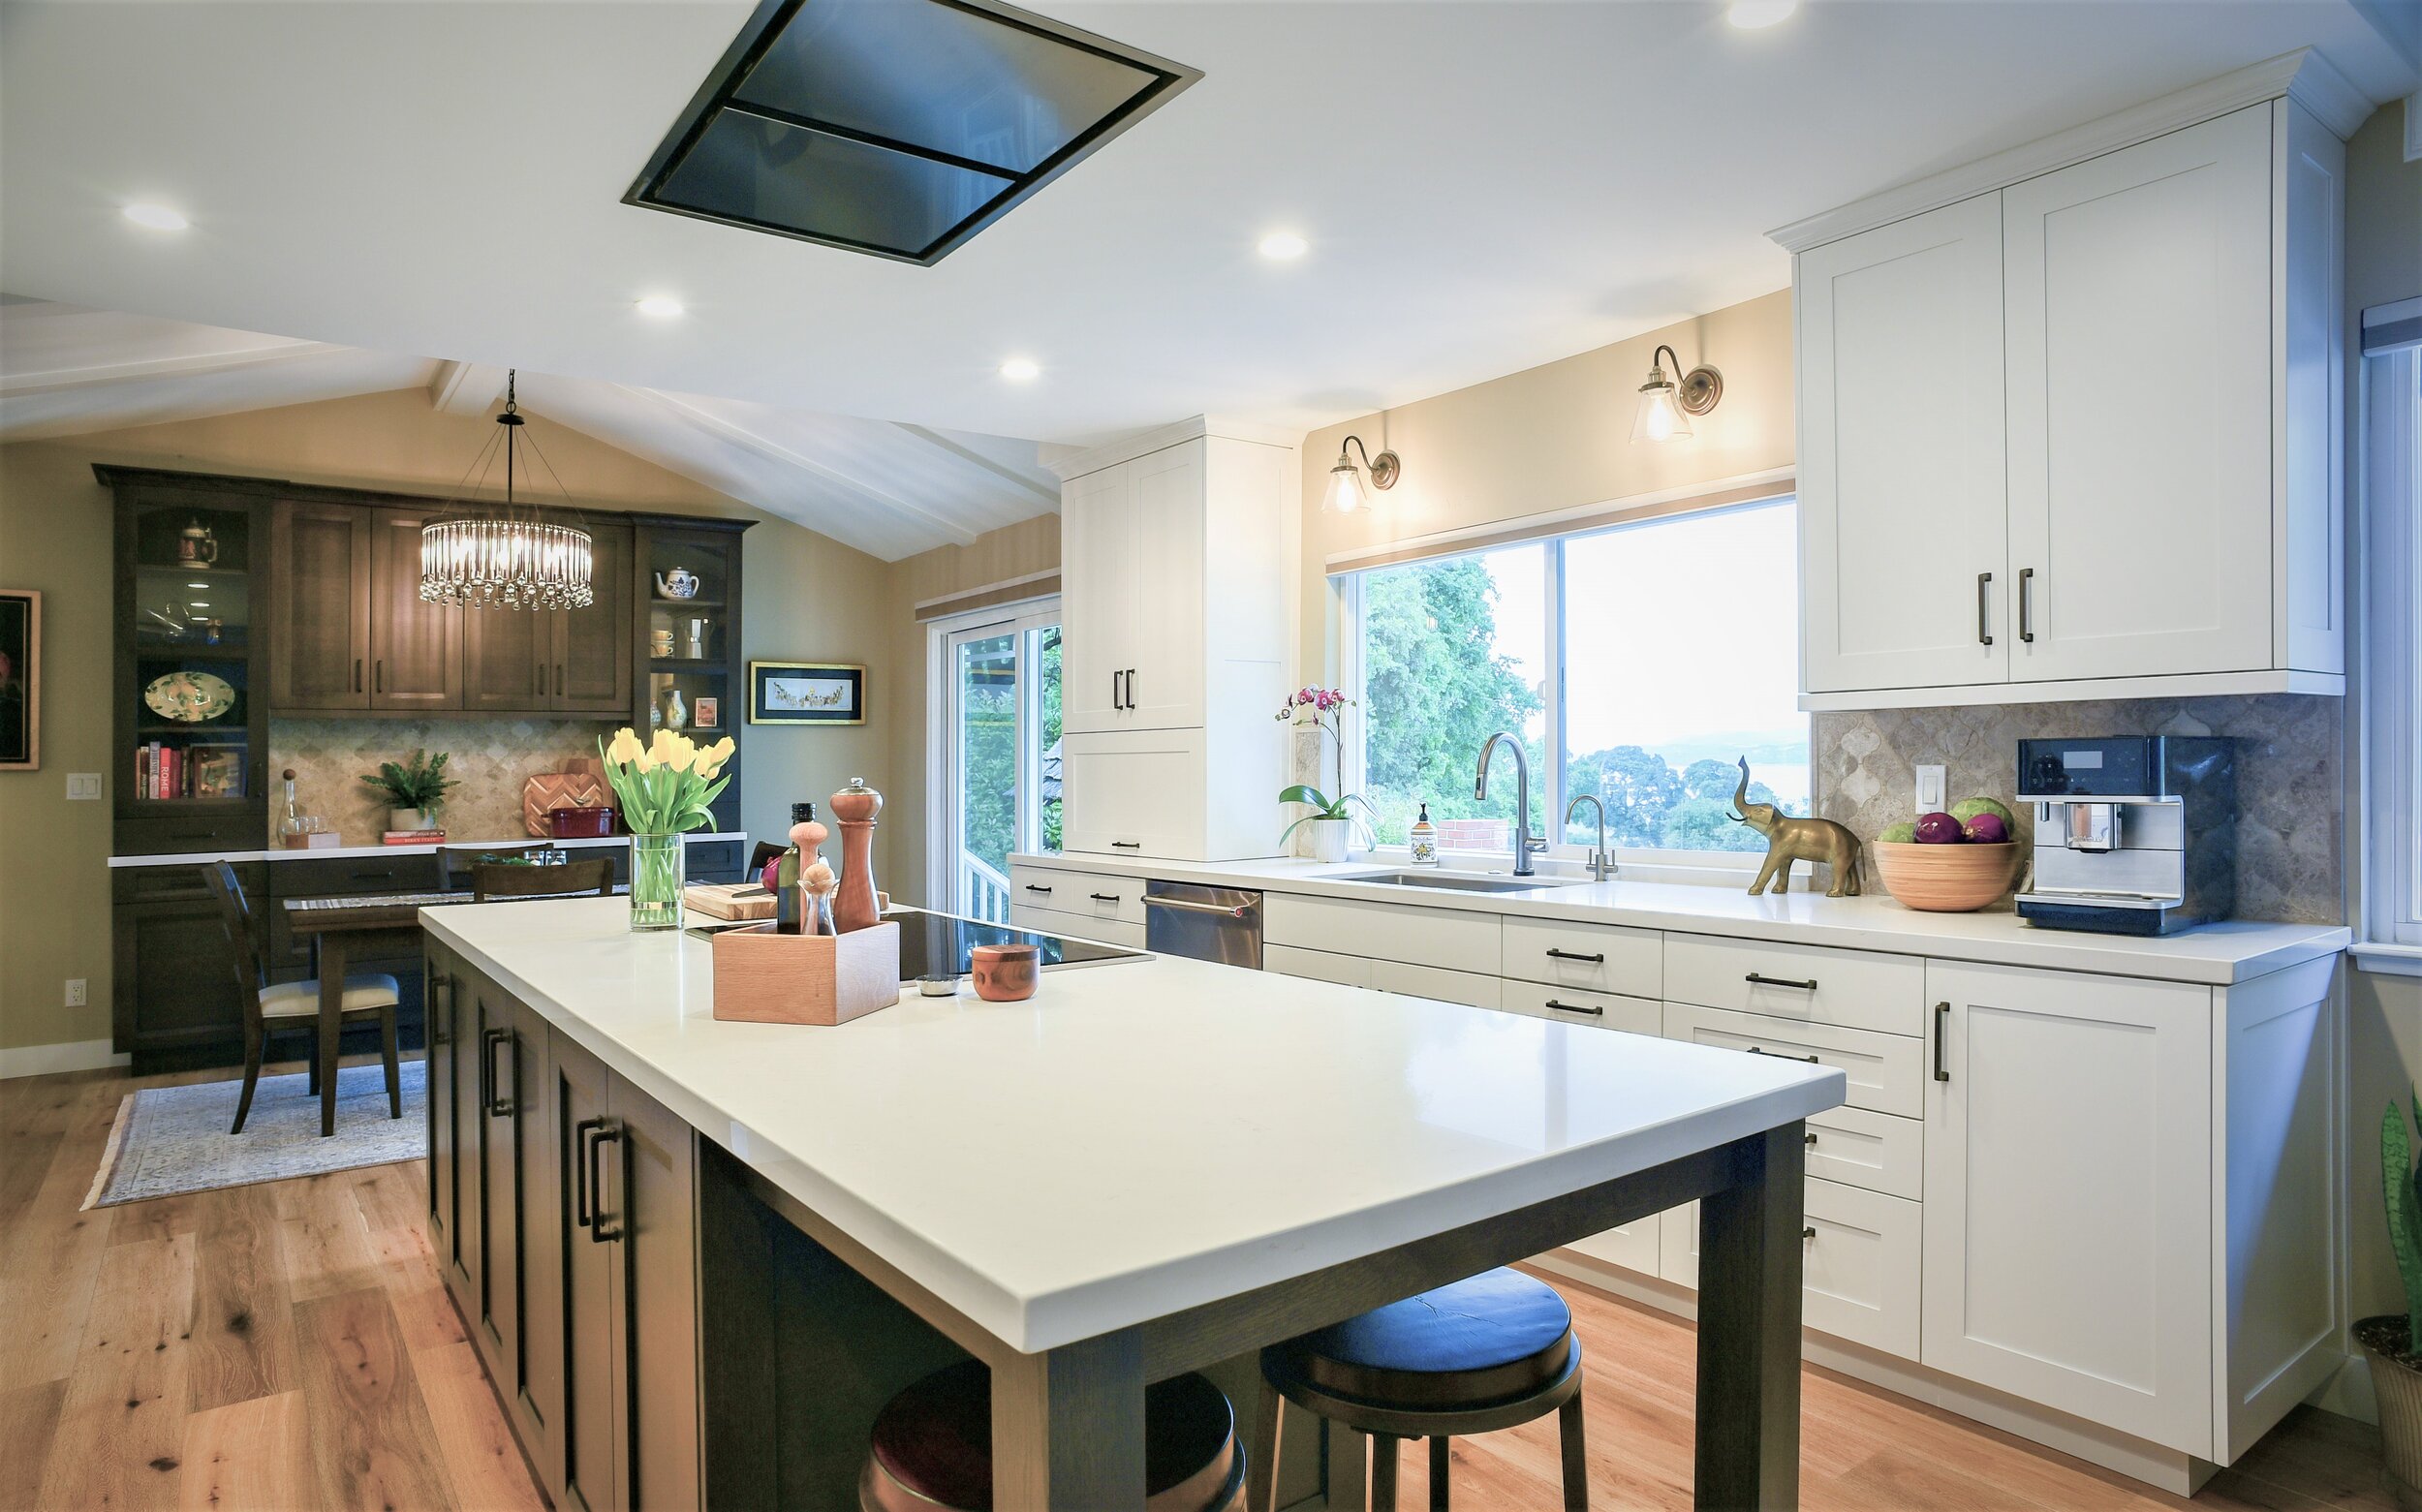
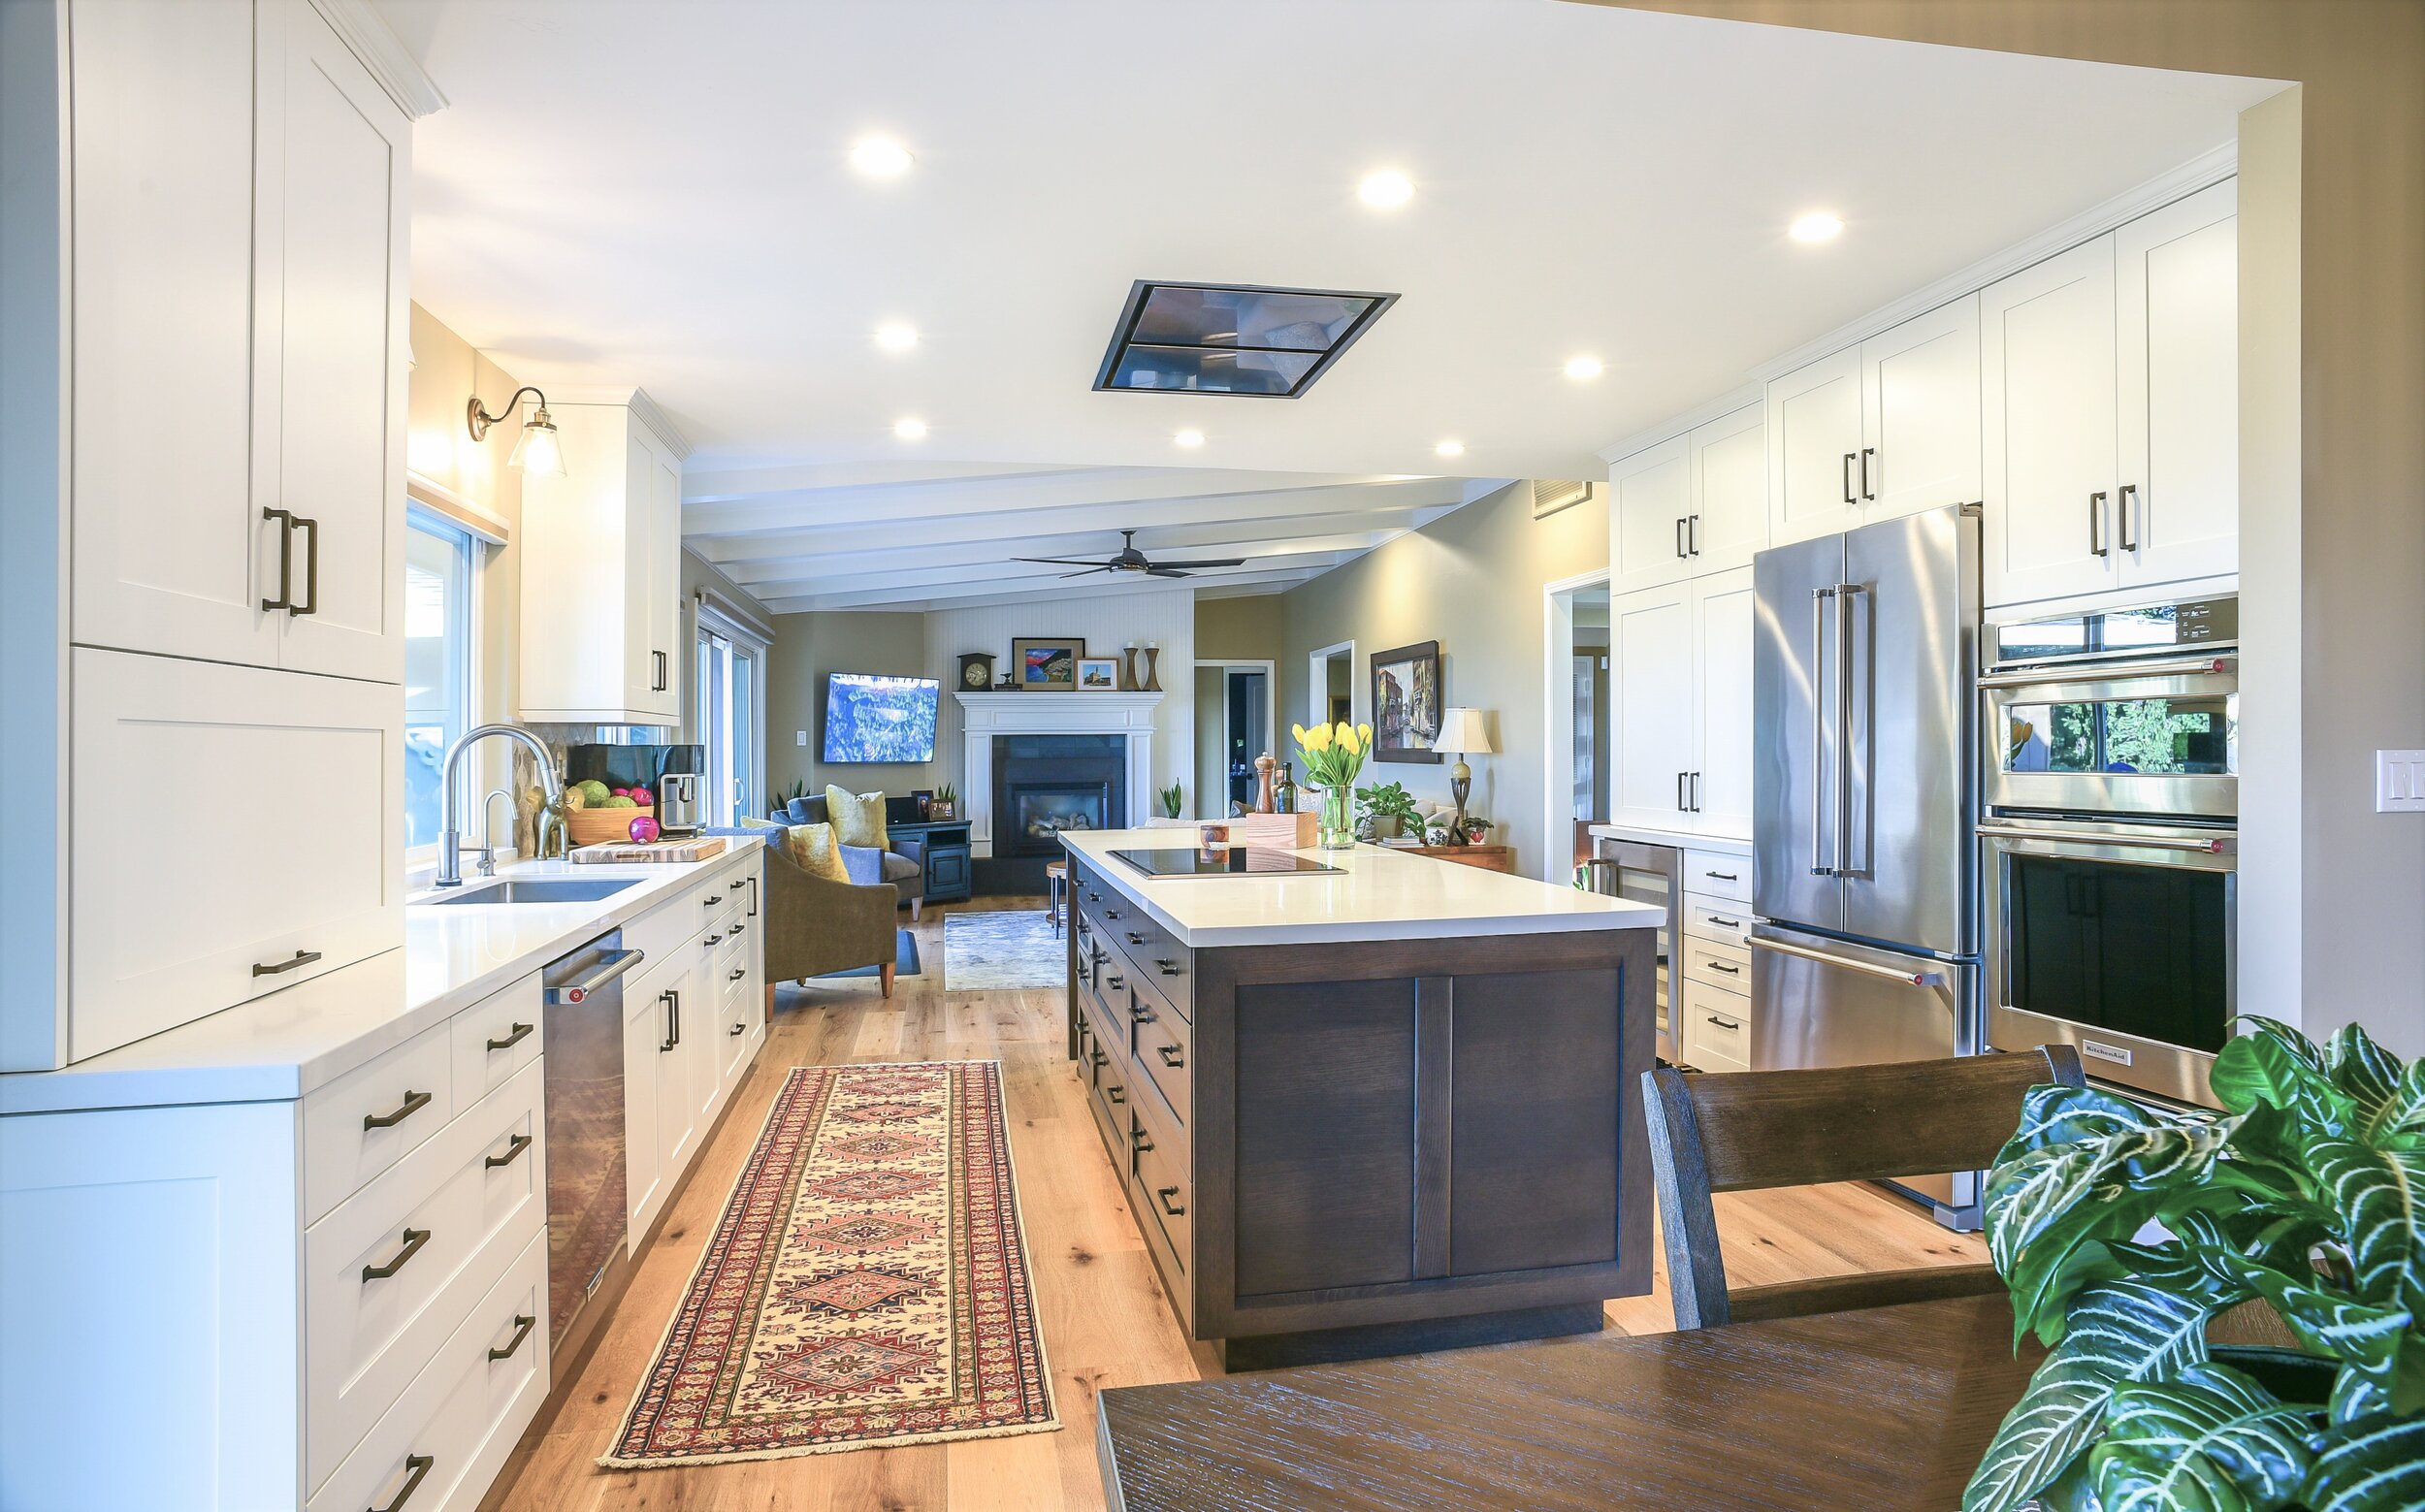
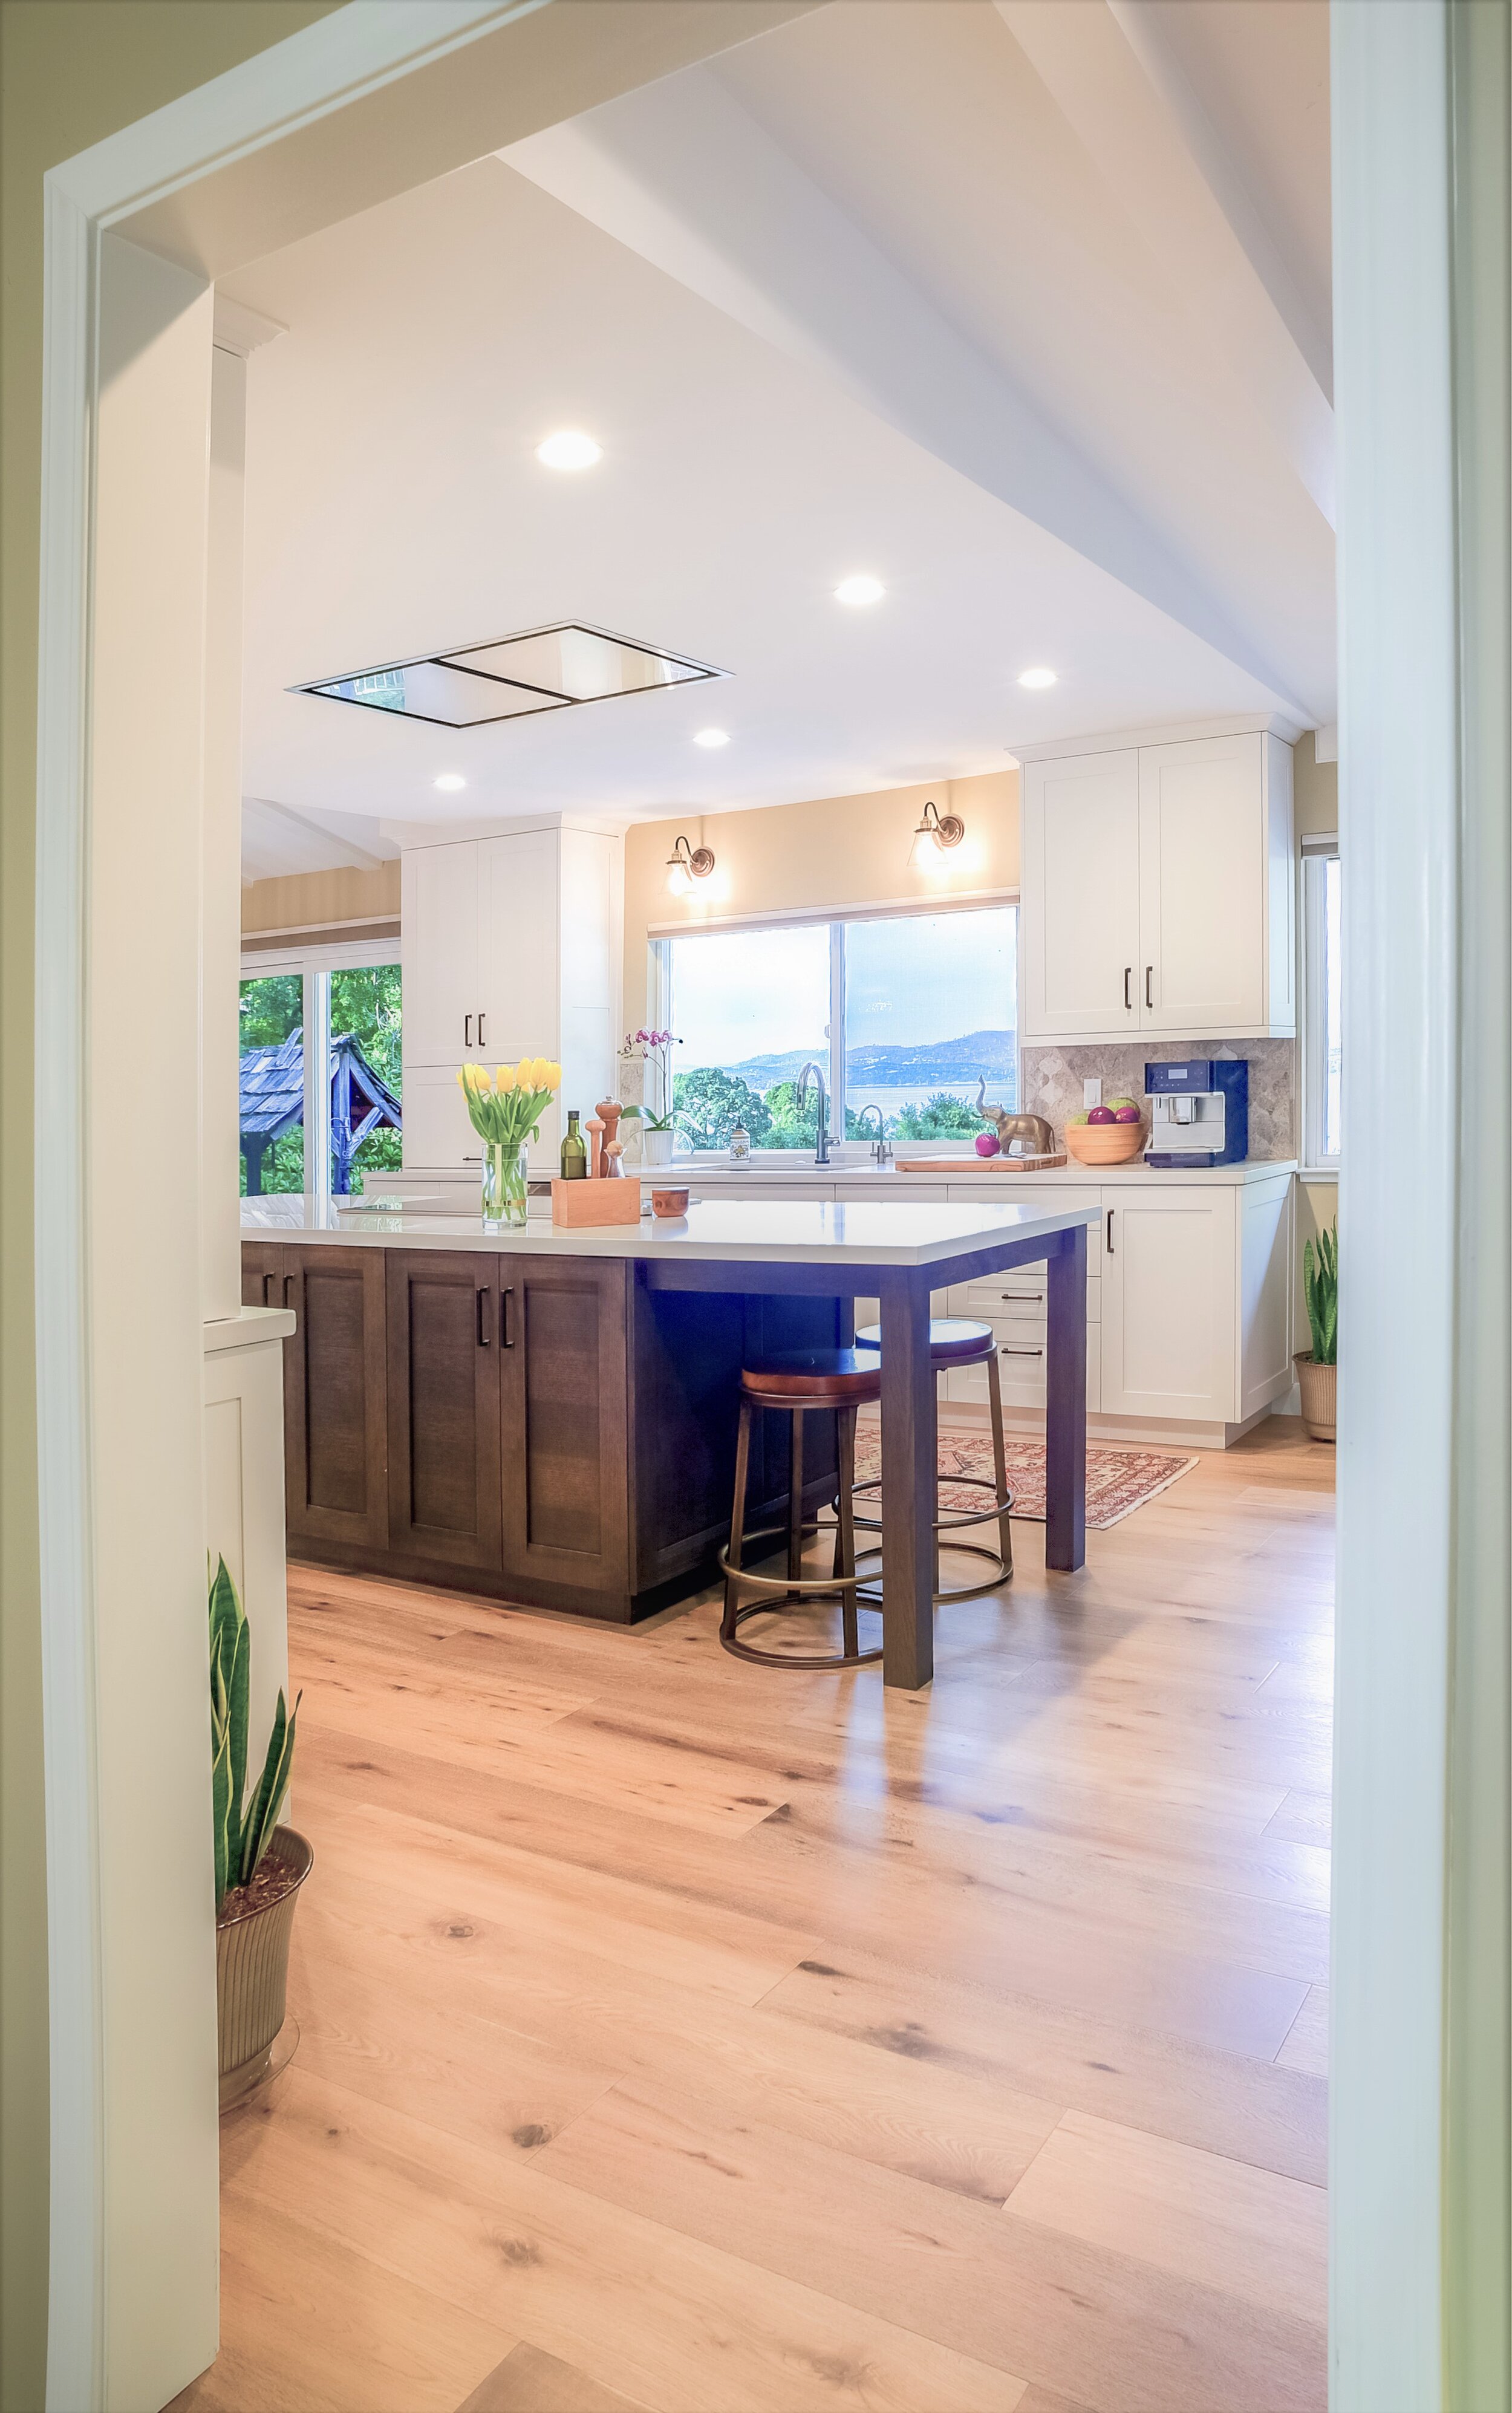
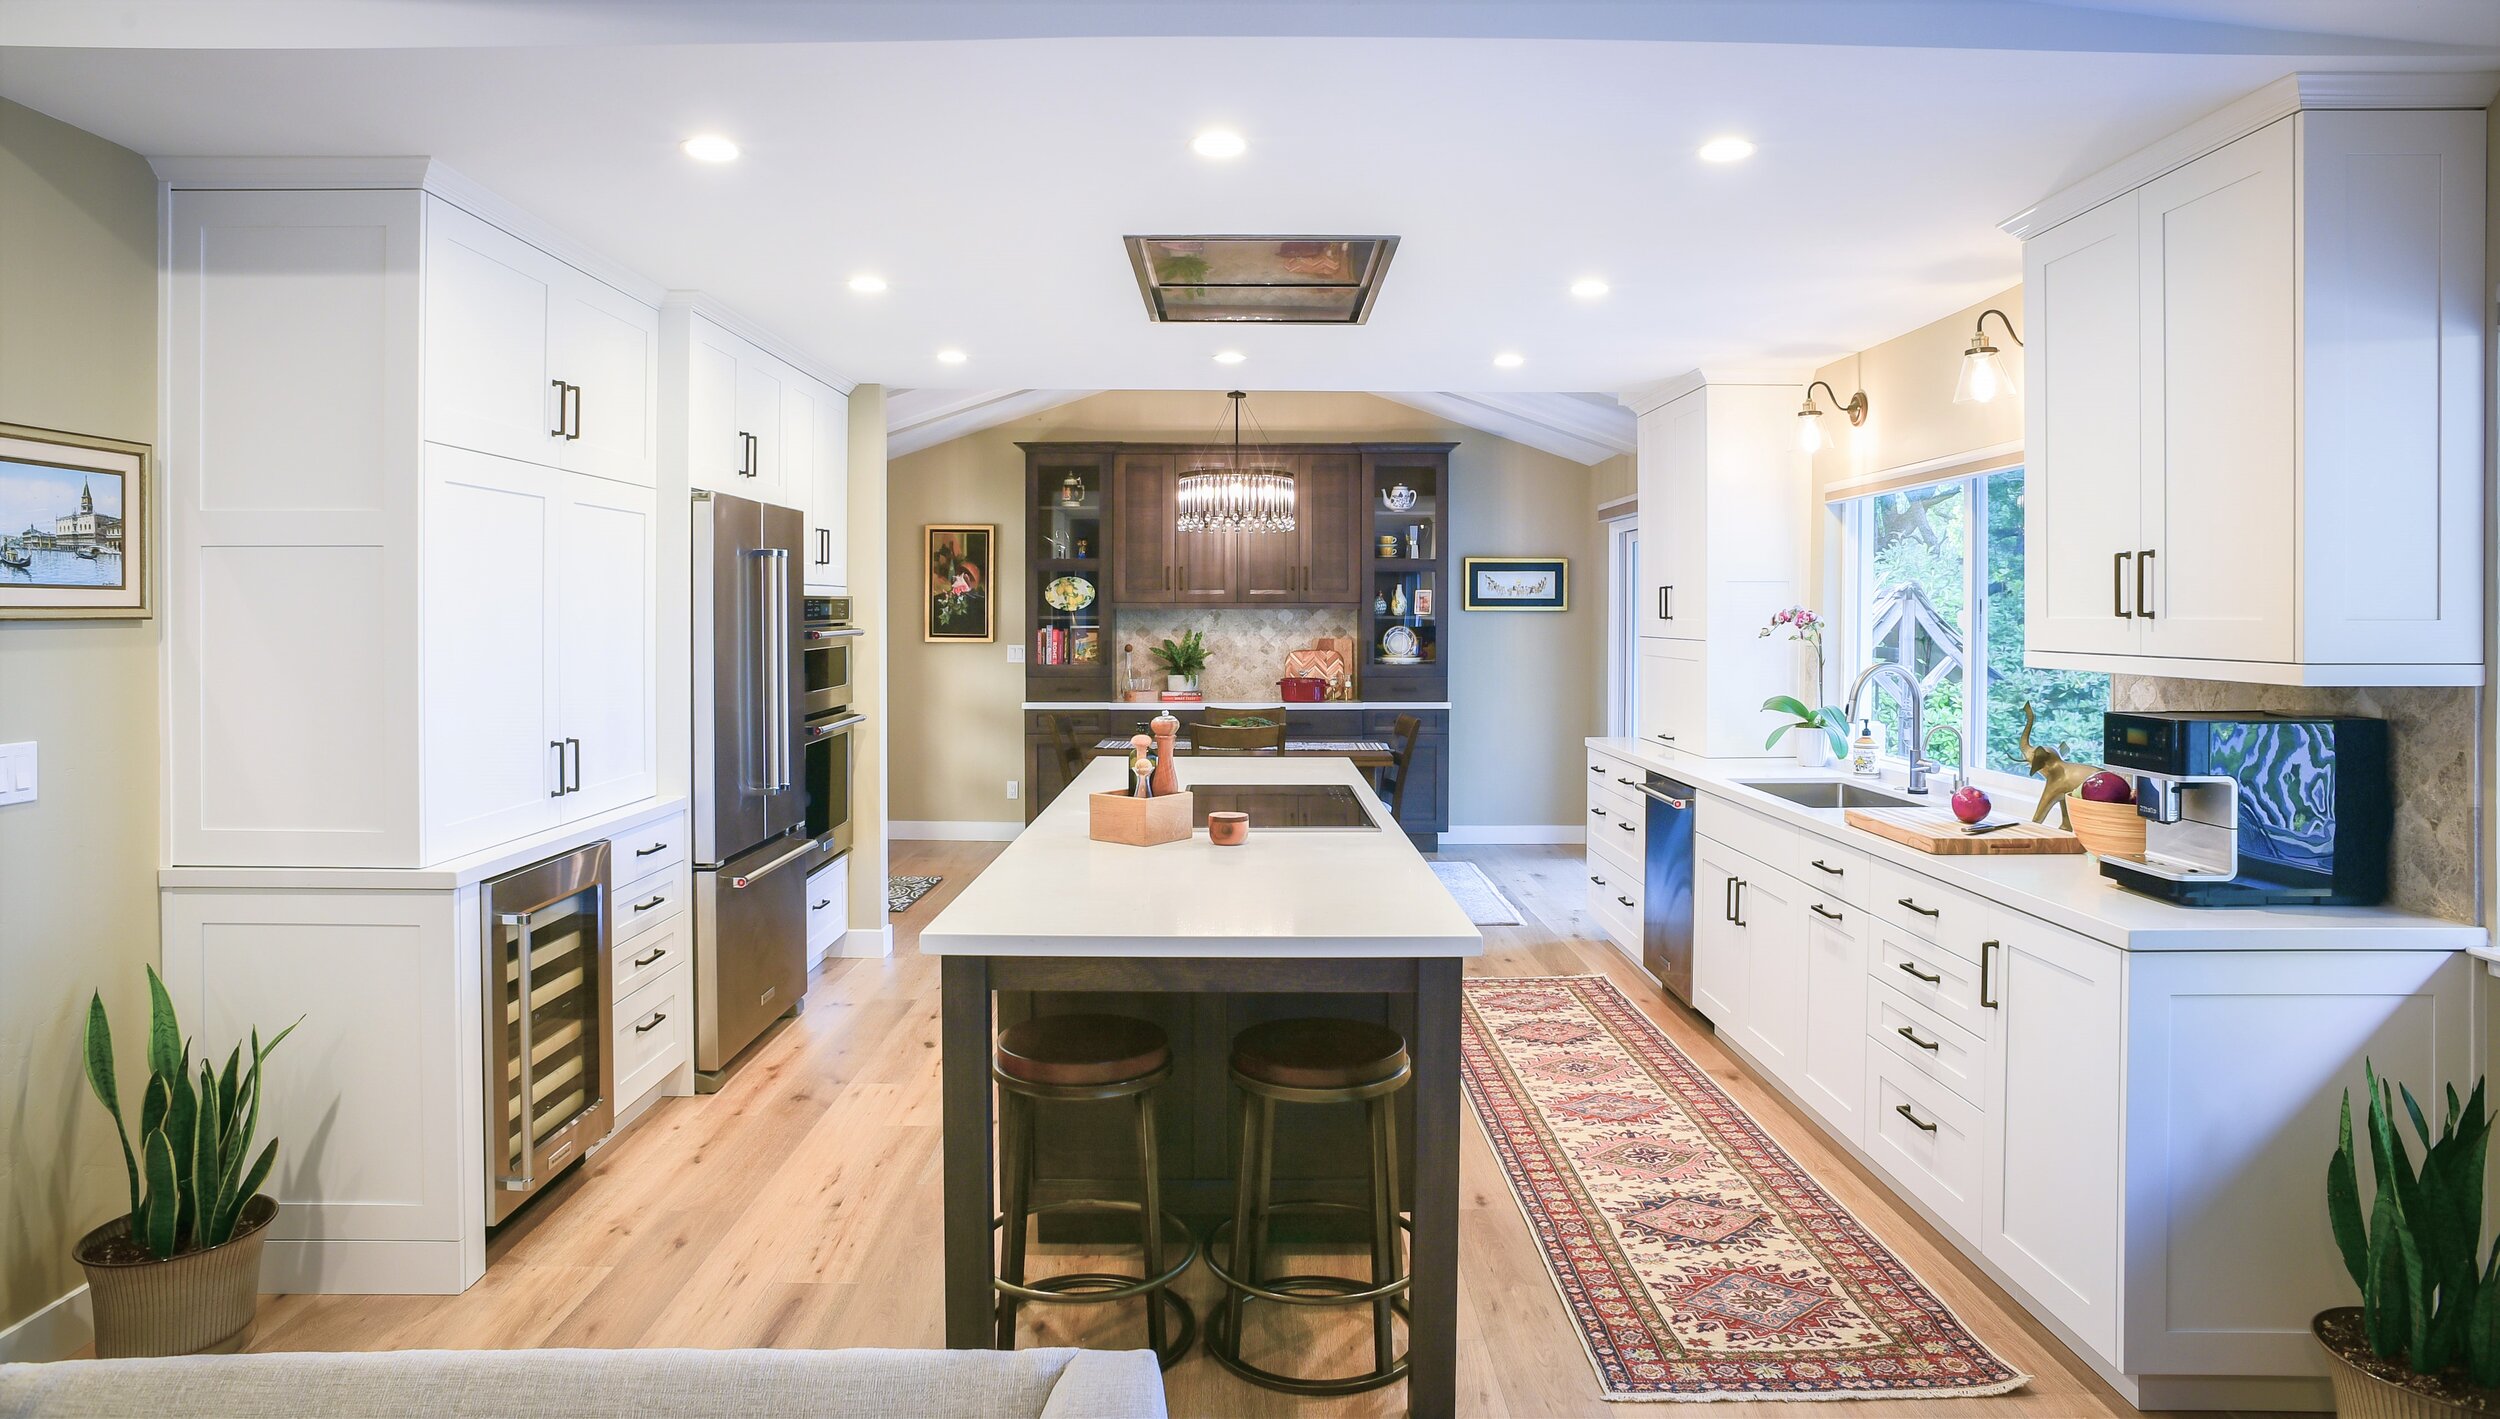
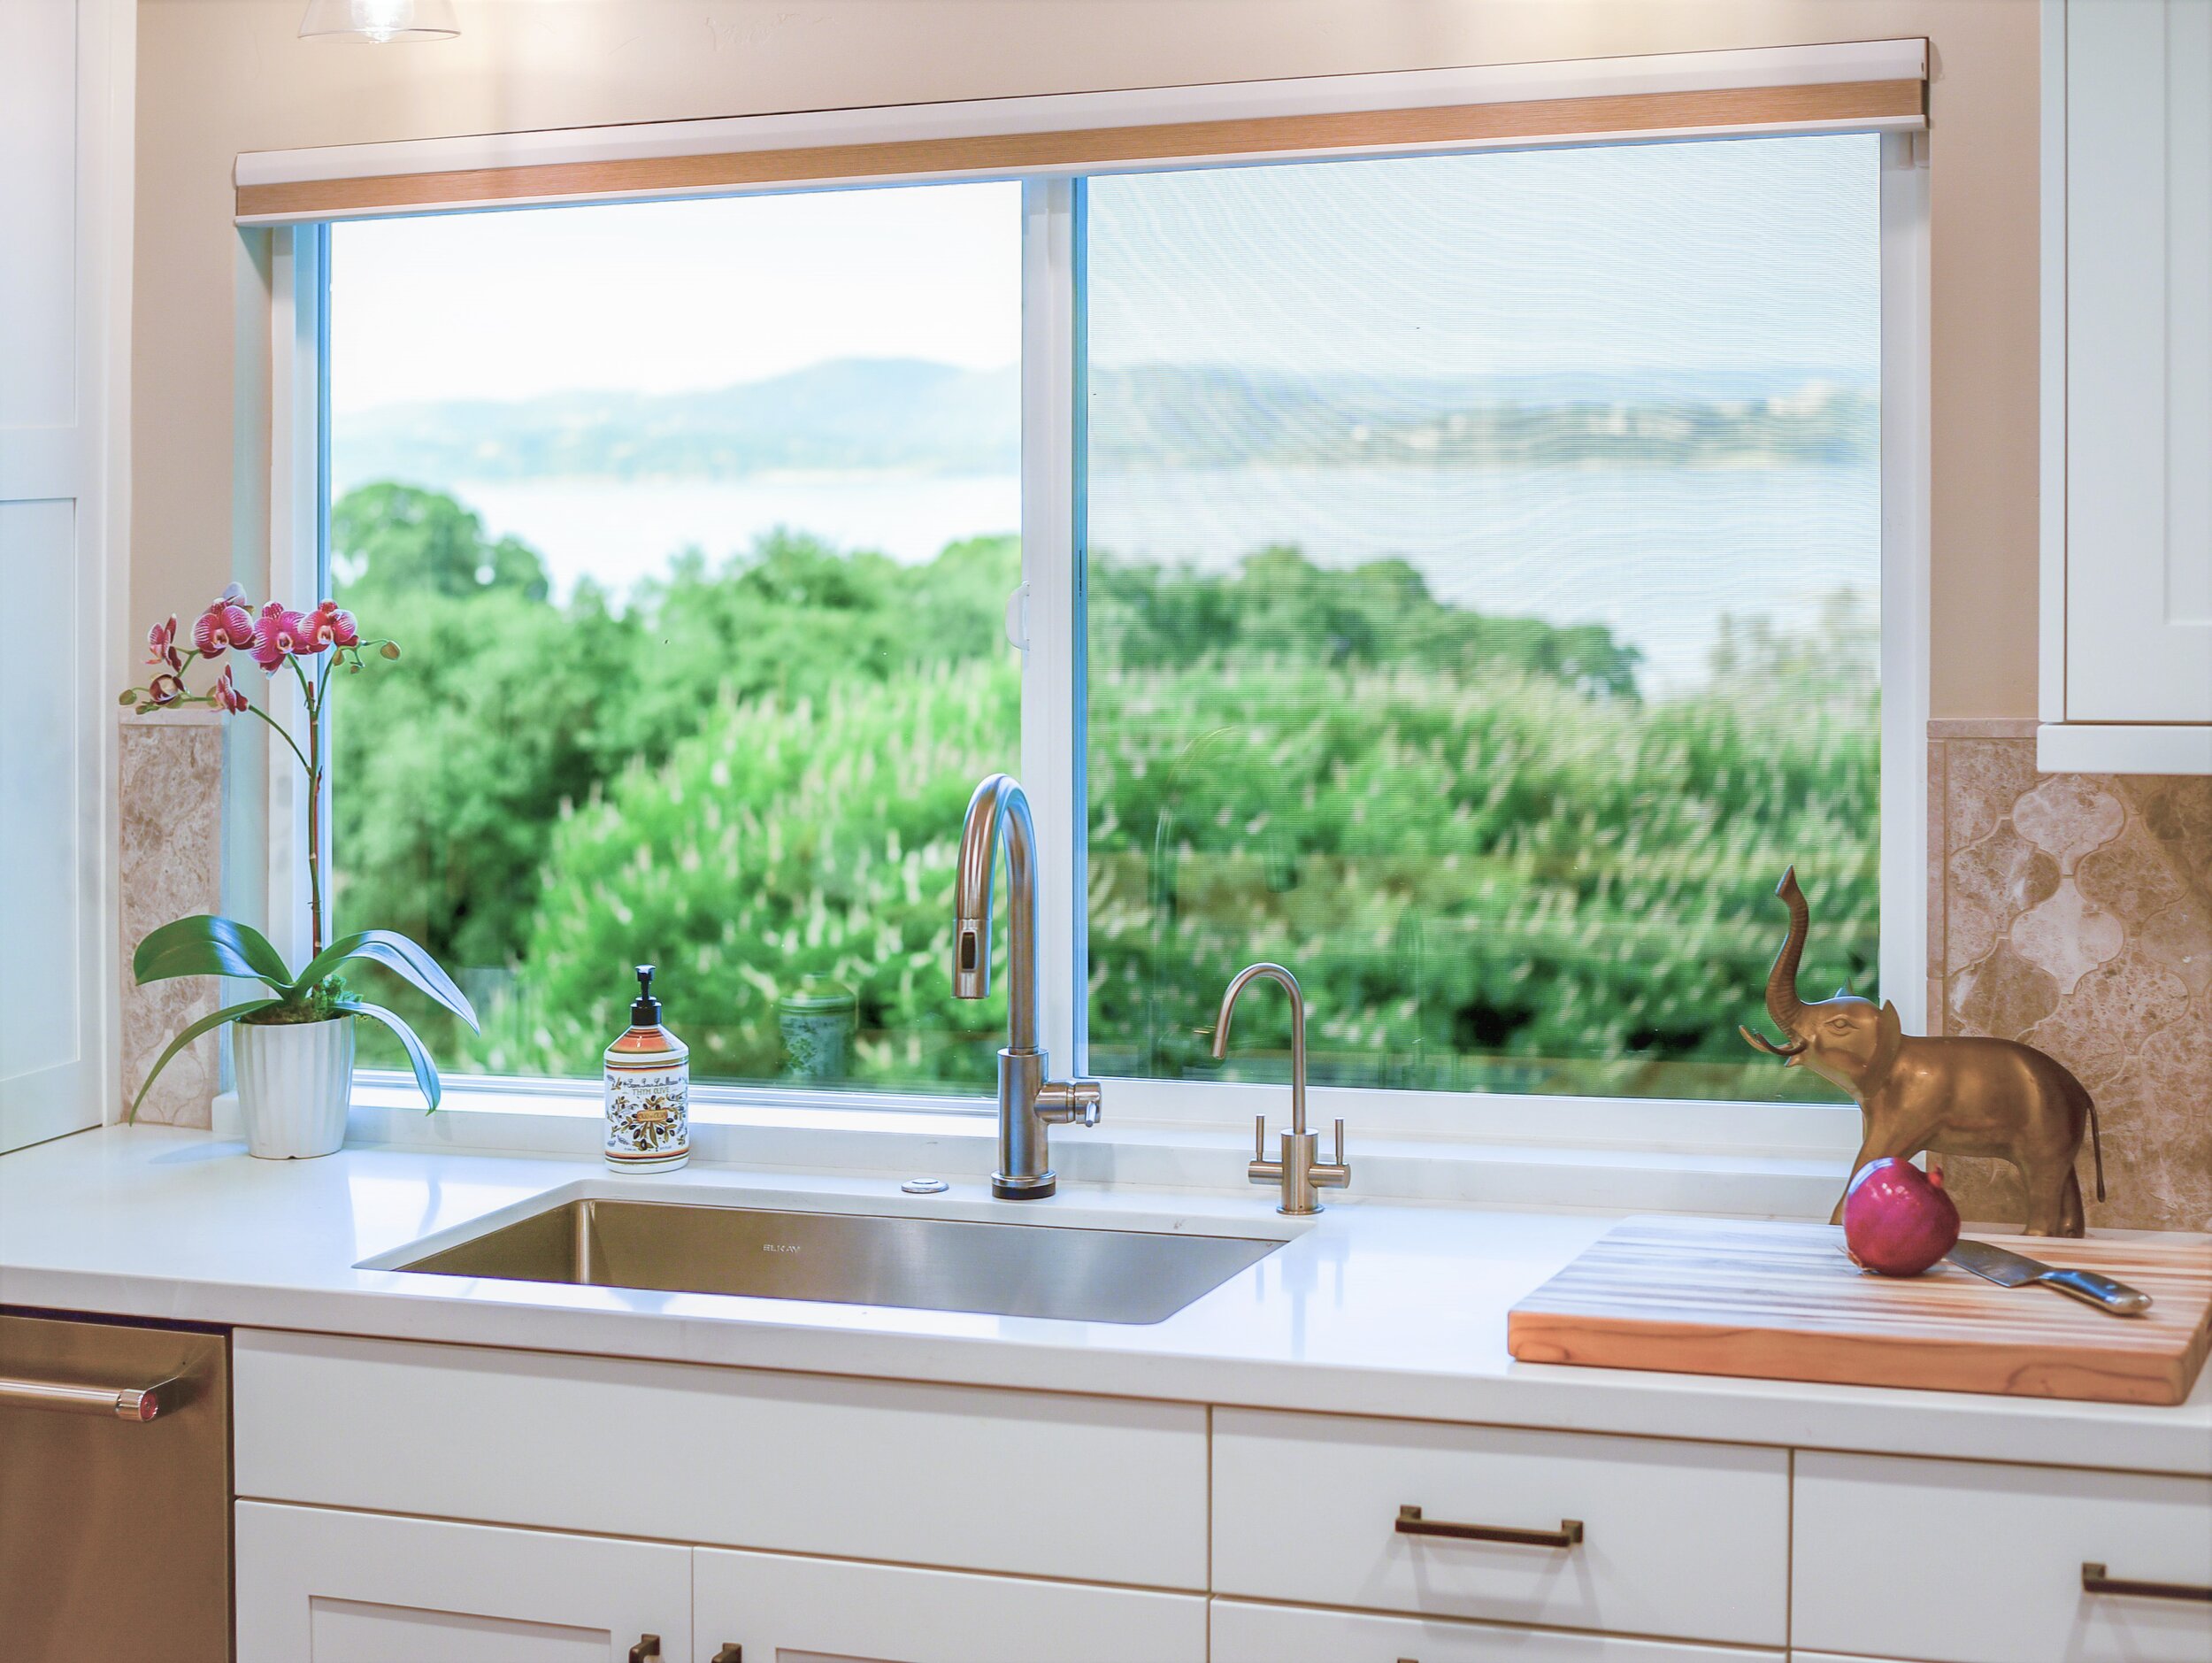
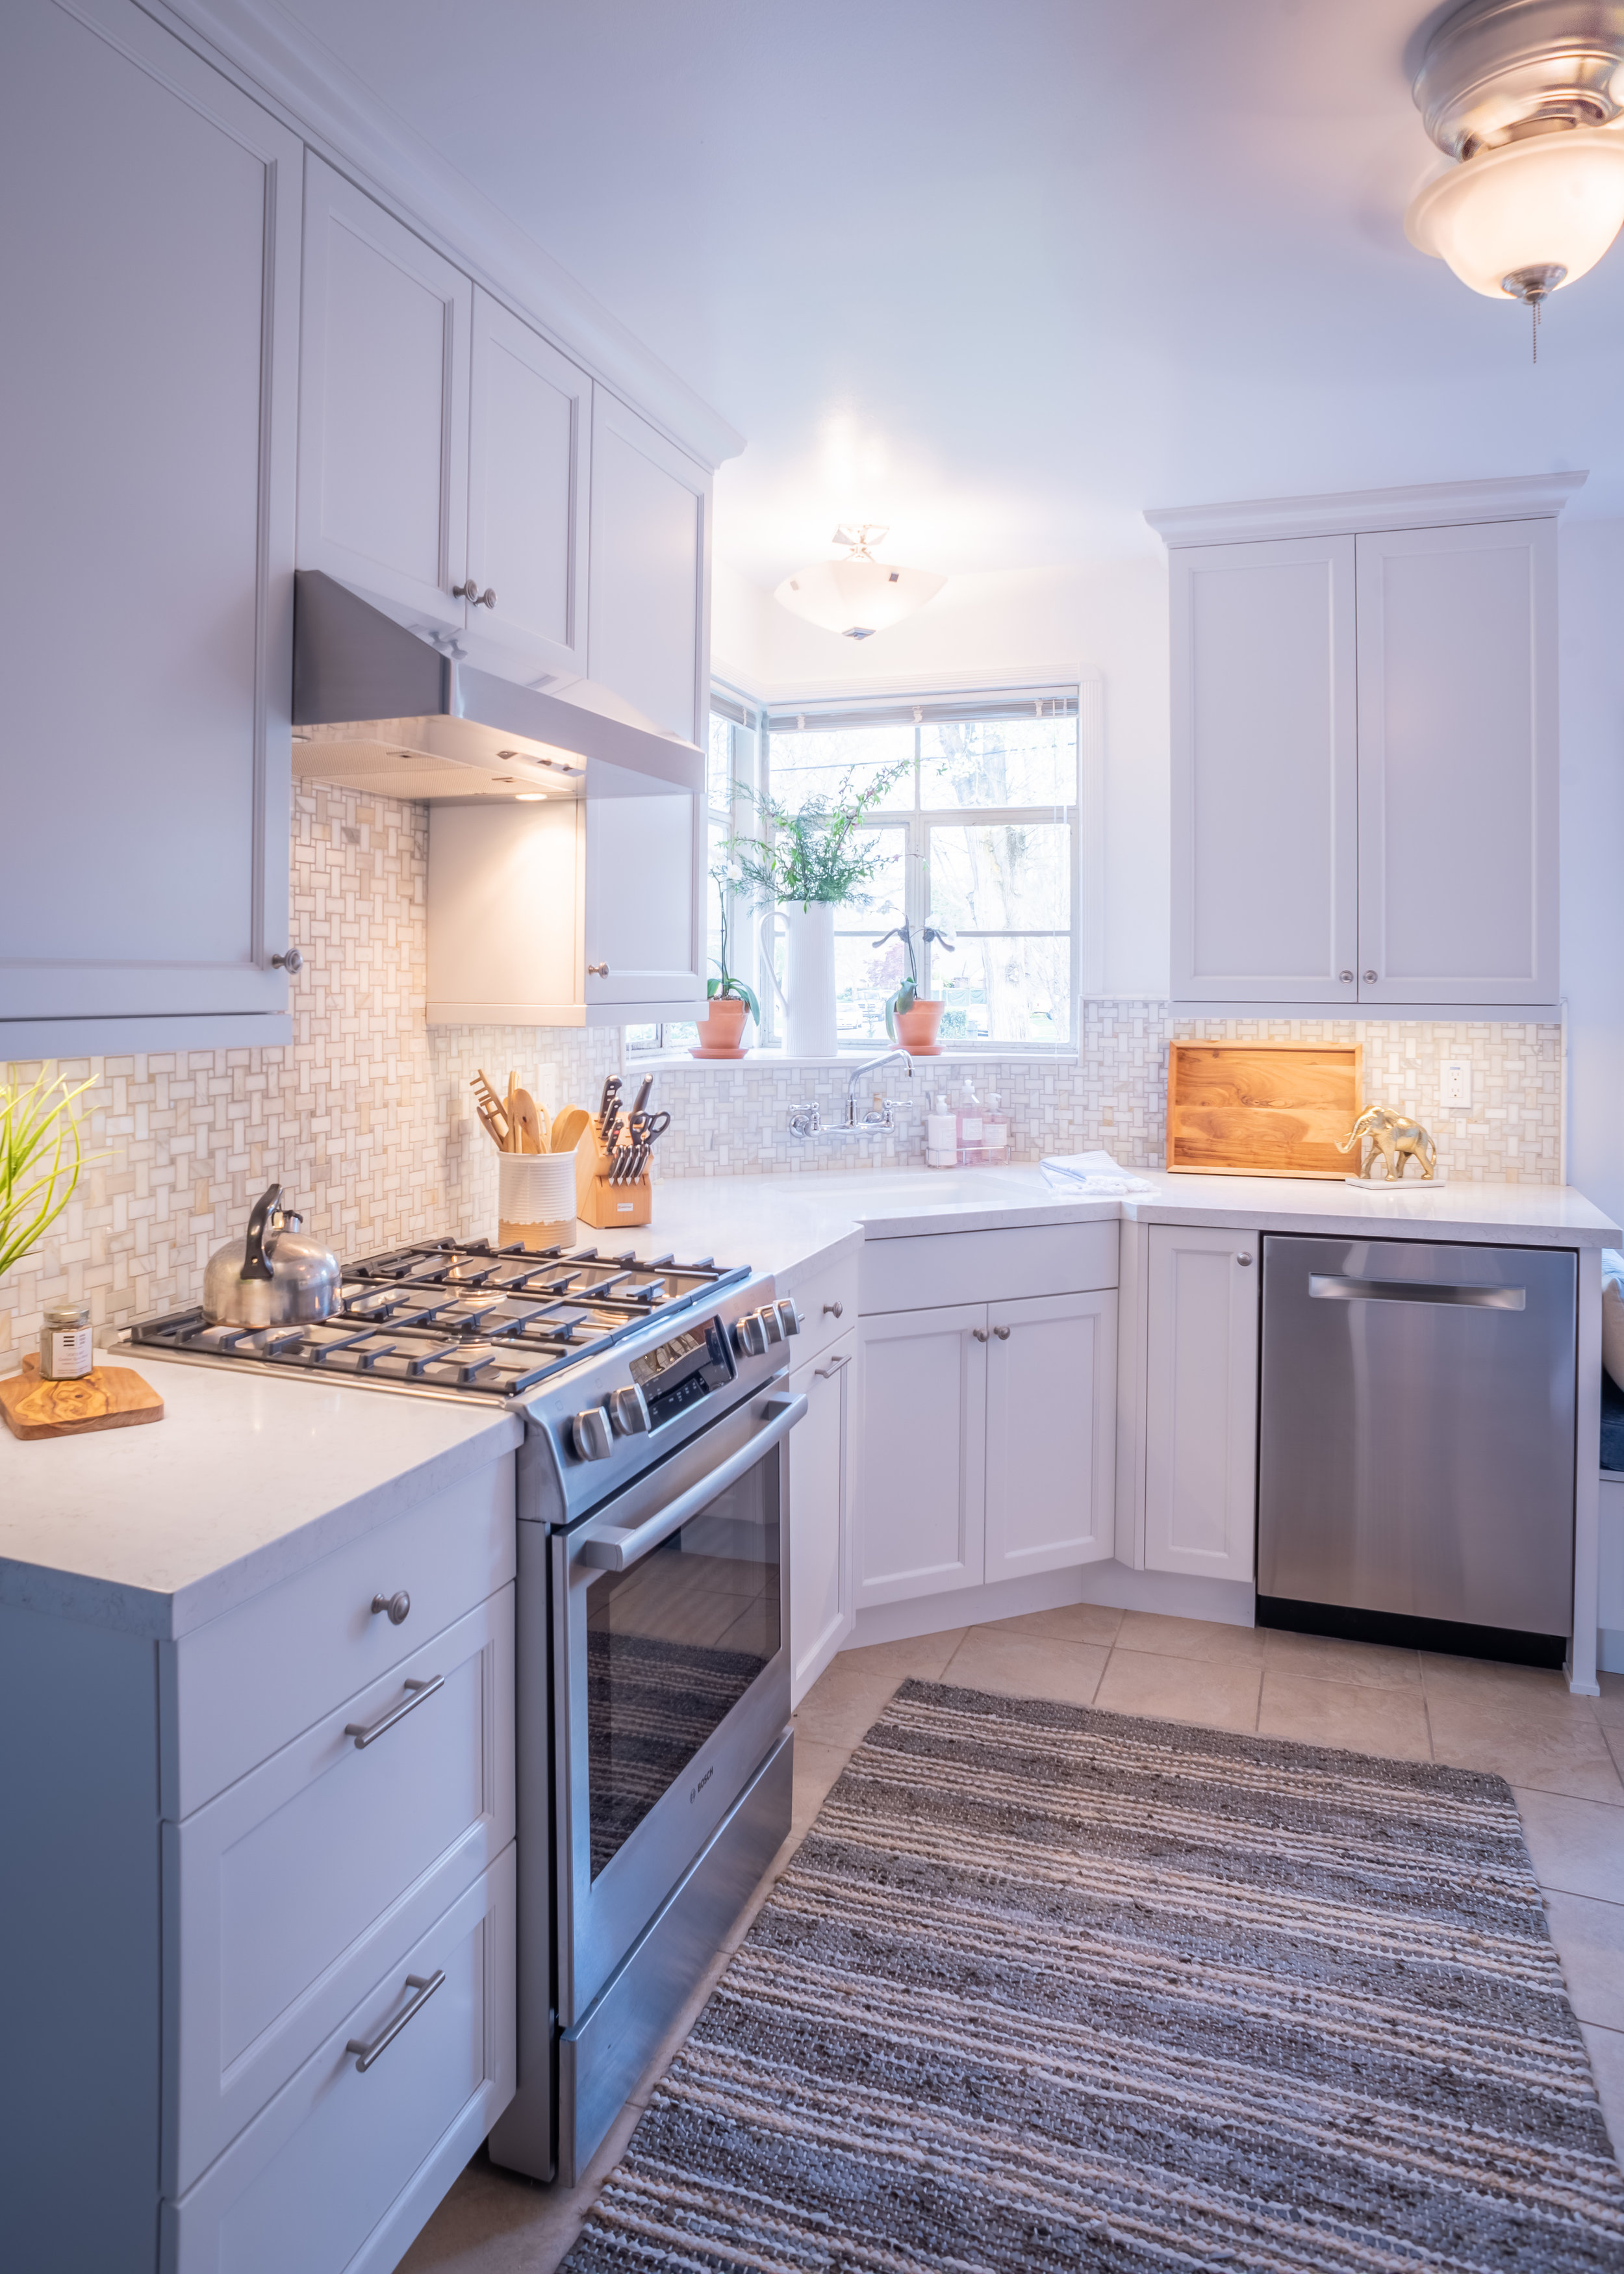
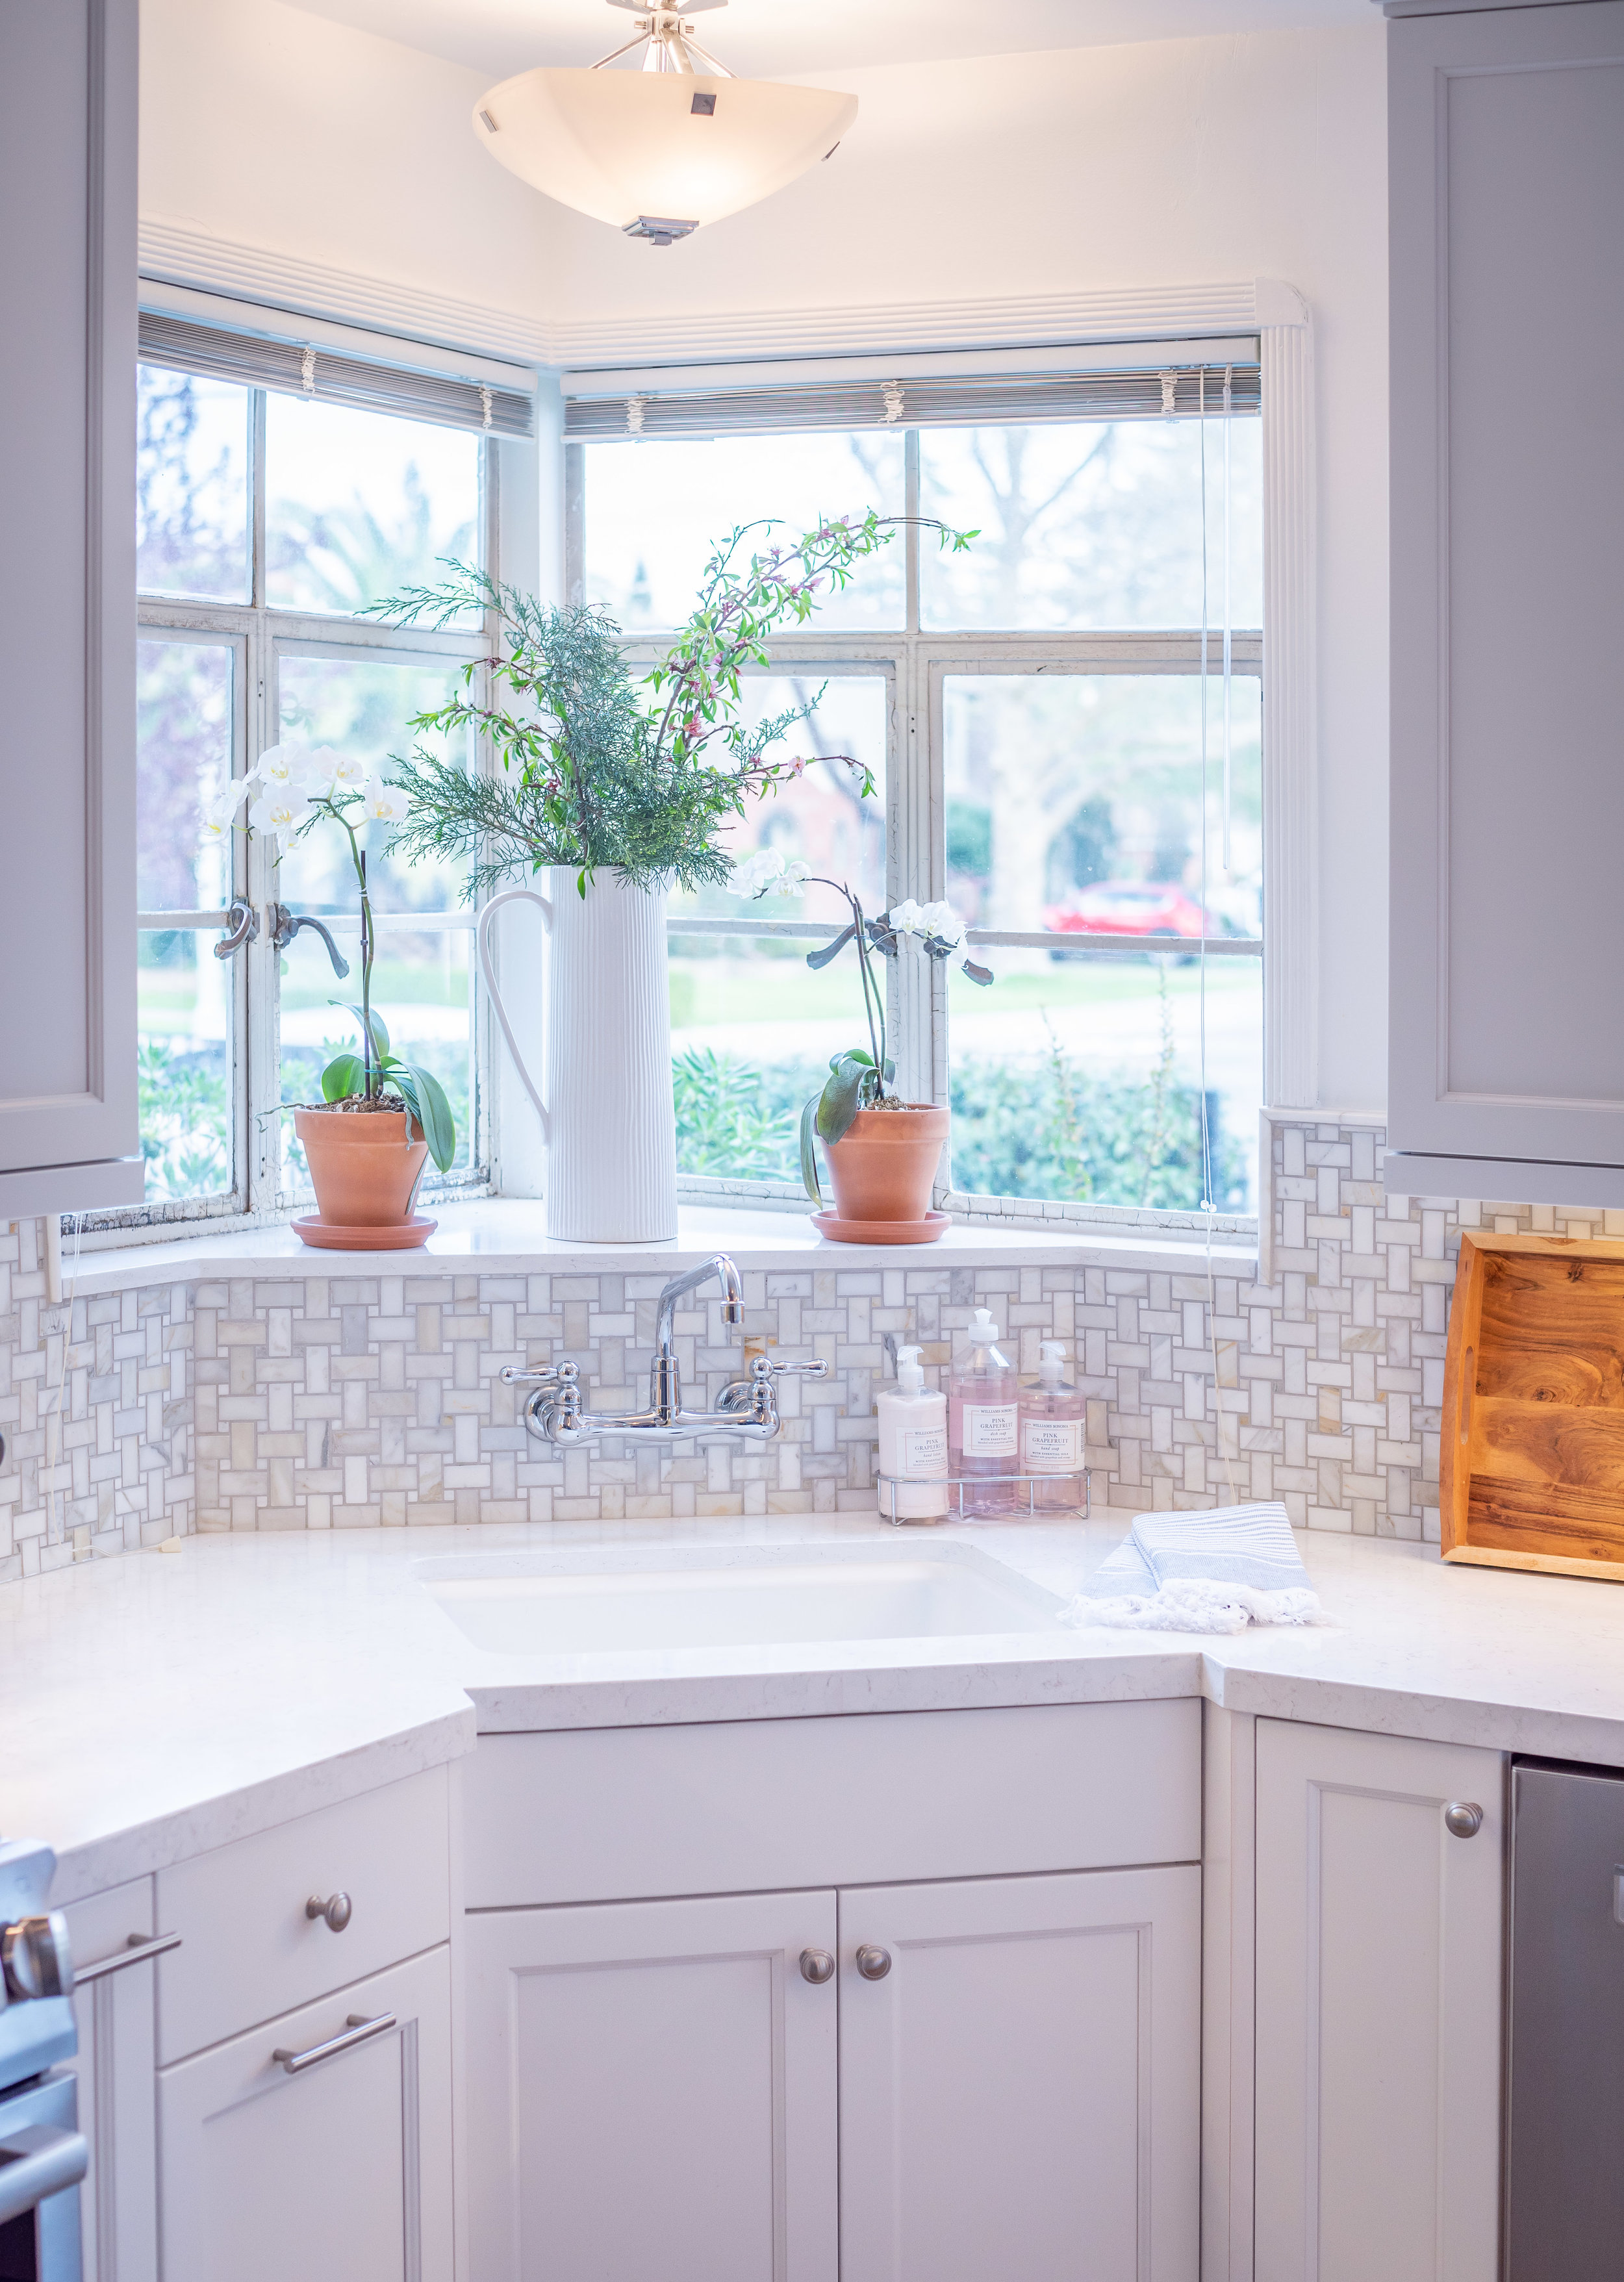
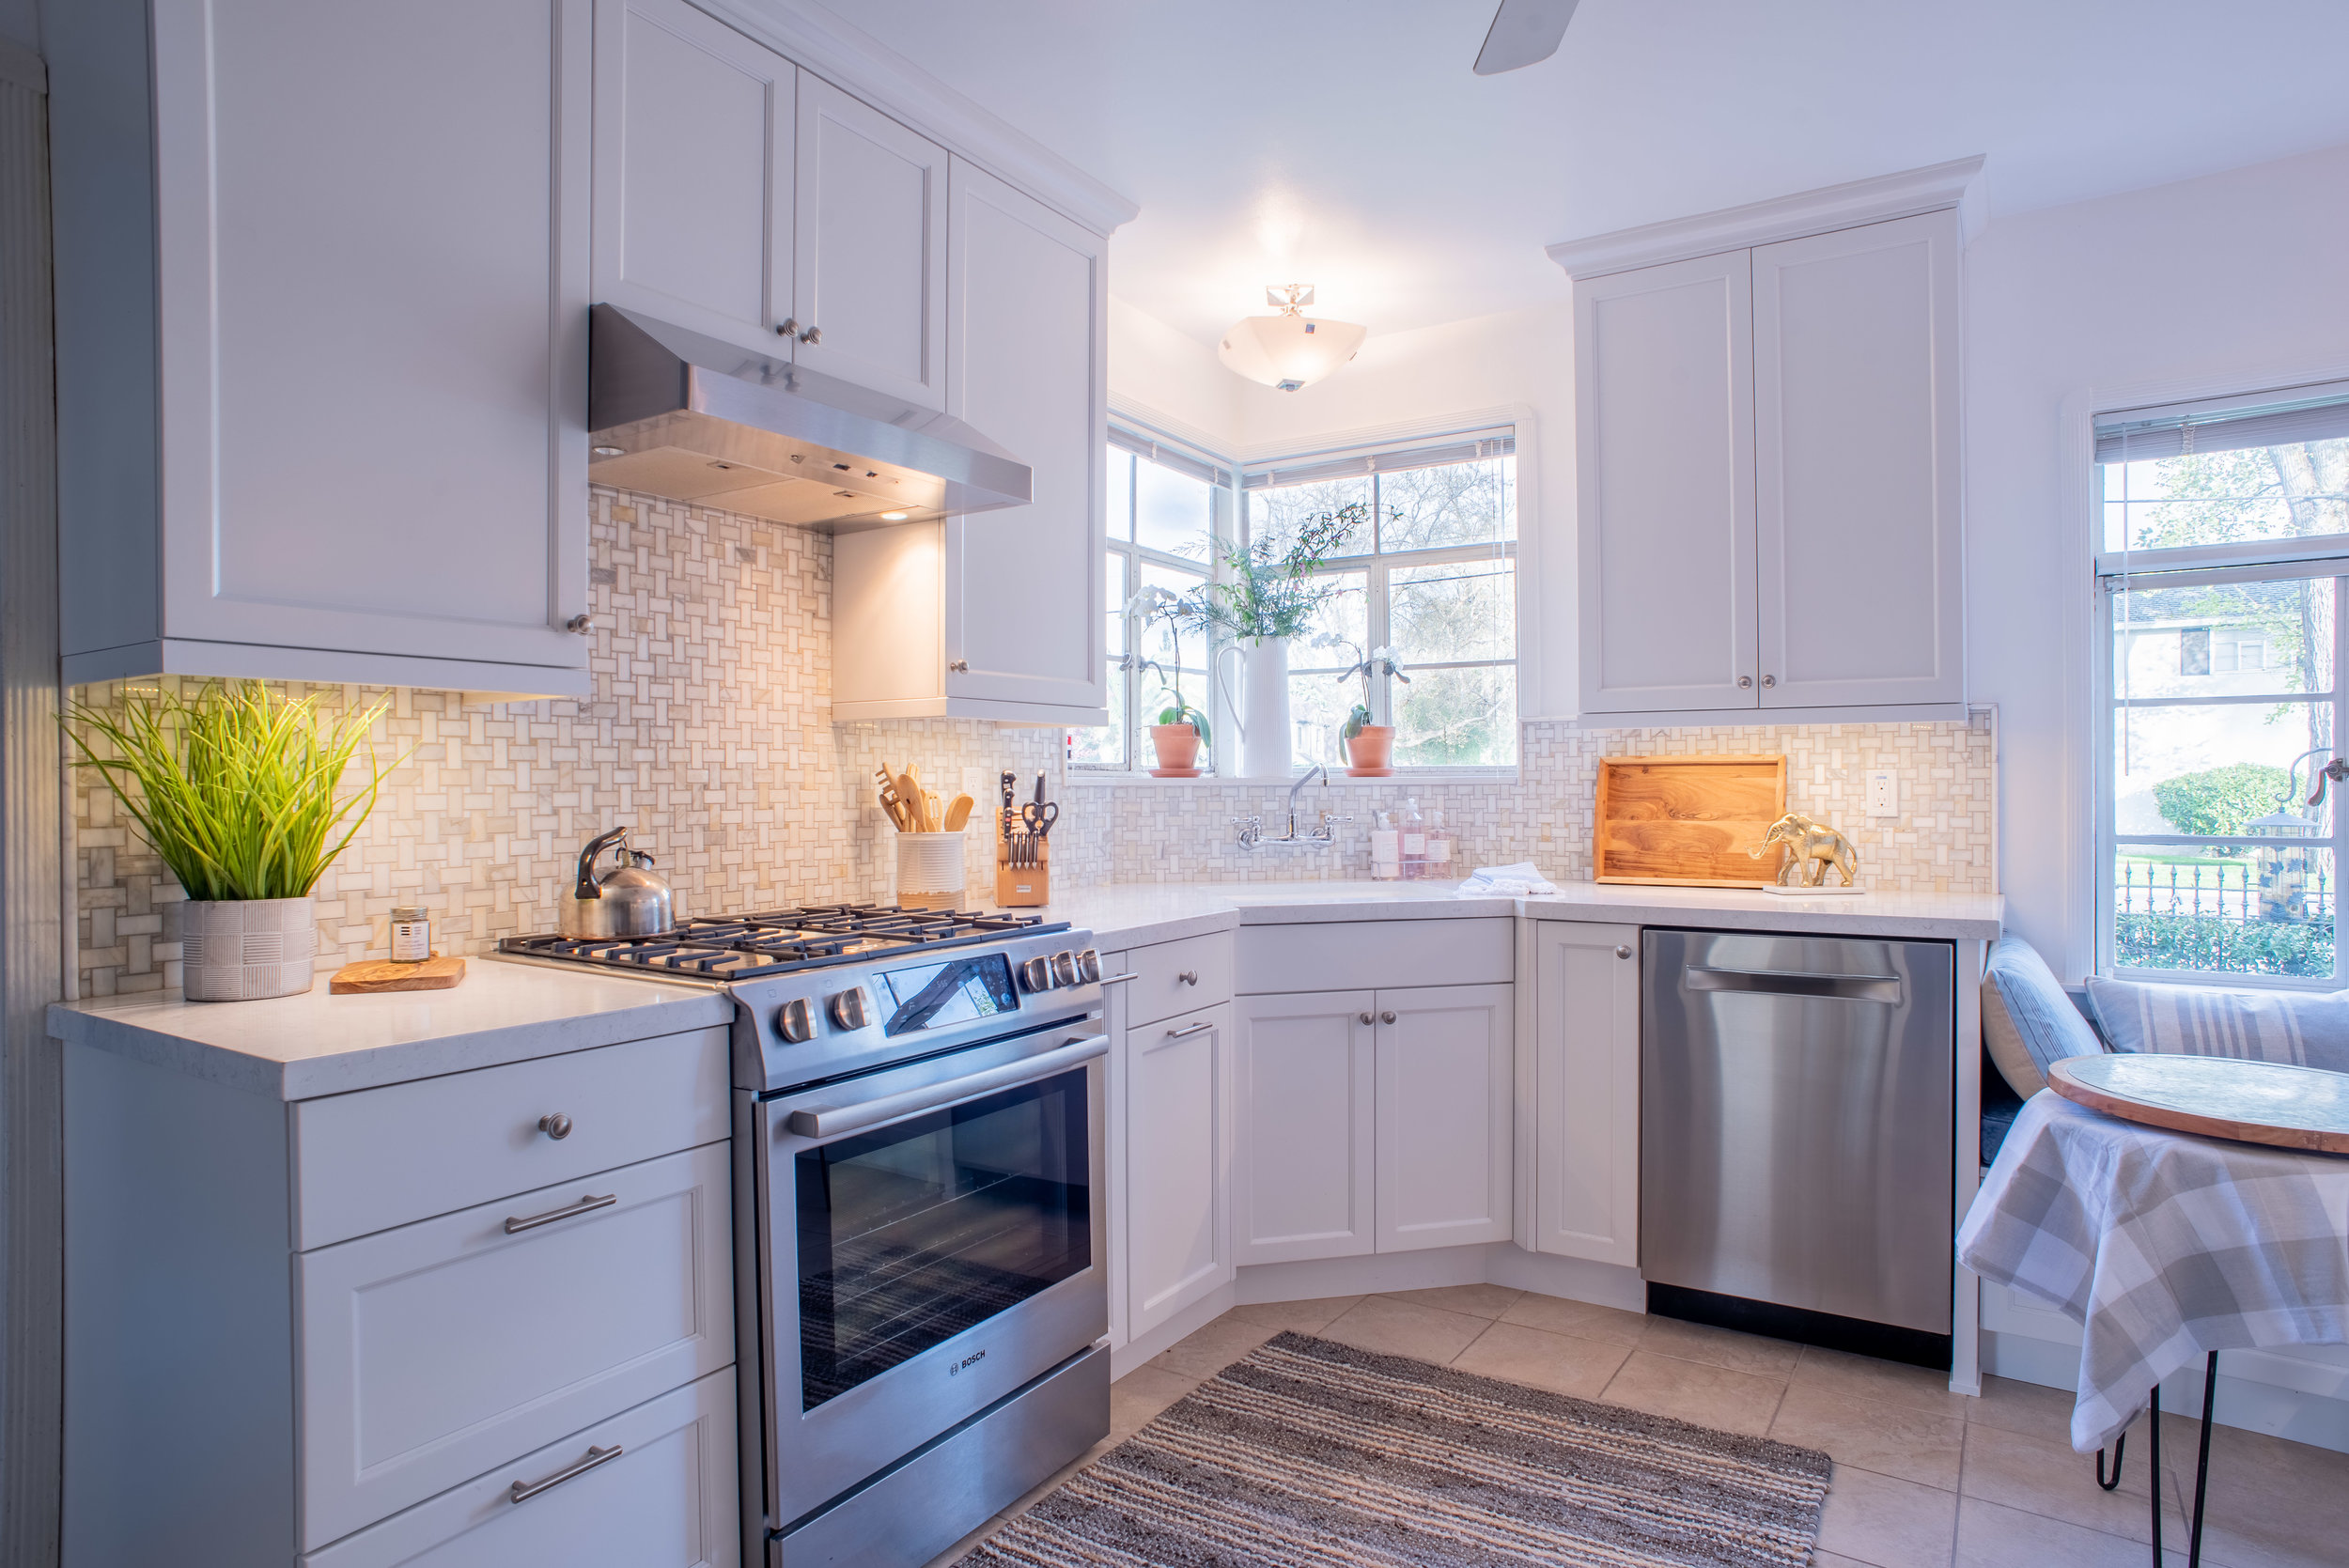
Most sinks that are installed in kitchens with new countertops are under mount.  This means that the countertop is installed OVER the perimeter of the sink and there is no "lip" to impede wiping the counters.  The sink should be on the jobsite before the countertop fabricator comes out to make the template for new tops.  Some fabricators will even take the sink with them to cut the hole in their shop. Typically when installing an under mount sink you can also have the faucet, air gap, soap dispenser and push button switch for the disposal come right through the countertop for a sleek and clean design.

One or Two Basins

This decision really comes down to personal preference.  Most people don't even think about what it would be like to have a sink that is any different than what they're used to. You may love the configuration you currently have...but could it be improved?

One basin allows for a smaller sink base cabinet that will allow the other base cabinets to be a bit larger for storage of other kitchen items. This also gives you more counter space.  If you have a small kitchen I highly recommend a single basin. Typically the drain is in the center of the sink although there are some that have an off-centered drain which makes storage under the sink more functional. One of the perks of a single sink is that large pots and pans are able to comfortable lay flat on the bottom of the sink.  For soaking those filthy 9x13 pans this can really come in handy! The disposal will be attached to the single drain so if you like to have a sink full of soapy water, you won't be able to use the disposal.

Two basin sinks come in all configurations with either equal or unequal sized basins. If you like to have one side filled with water to soak dishes but still want access to a disposal, I recommend the two basin unequal sink.  This means one side is 2/3 of the total sink width and would be used for soaking and the smaller 1/3 side is typically more shallow and would have the disposal. 

Traditional of Farm Sink

TREND ALERT!!!! Everyone who watches HGTV wants the Farm Sink style that Fixer Upper has brought to the forefront as the overwhelming current design trend. There's nothing wrong with being trendy as long as it's really what you want.

Farm sinks are pulled forward in the base cabinet so that they actually protrude in front of the cabinetry.  Functionally they are very pleasant to stand at and wash dishes as you don't have to bend forward very far to have your hands in the sink. If you're installing new cabinetry there are specifically designed base cabinets that have a support platform inside the cabinet and a blank flat panel in the front so that the installer can cut the hole for the sink and still have fully functional doors under the sink.  If you're retrofitting existing cabinetry you may have to have new doors made for your sink cabinet as well as a platform built inside the cabinet to hold the weight of the sink so that it doesn't collapse into the cabinet when it's full of water! One thing to beware of is that some sink materials are prone to being scratched and damaged by belt buckles or the buttons on your jeans as you lean forward onto the front of the sink.  I've been in a few kitchens that have a wear mark on the front of their beautiful farm sink!

Traditional sinks are a few inches from the front edge of the countertop and are installed either as a drop in or an under mount sink. The cabinetry will be full height at the sink area and there is either a false panel or a flip down sponge tray in front of the sink.

Stainless, Cast Iron, Fireclay or Composite Material

Here's where it gets a bit more complicated.  I highly recommend visiting your local plumbing showroom so you can see and feel each of these options in person to make the best decision for your family.  Stainless comes in several gauges that will effect their durability as well as the sound that is produced when water hits the bottom of the sink. Cast iron is a classic that comes in a wide variety of colors to accent almost any design and is among the most durable sink materials.  Fireclay has a lovely vintage look and cleans up nicely although it can be prone to cracking. Composite sinks are the new kids on the block and are a nice balance between function and style.  There aren't as many color options as Cast Iron but they are incredibly durable and have a texture that can't be found in any other product.

For each of these types of materials there are a wide range of quality and price points depending on the manufacturer.  If you're shopping on line just remember...If it sounds too good to be true, it probably is.  You can expect to spend anywhere from $450 to $1,200 on a good quality kitchen sink. Don't even get me started on faucets!!!! We'll save that for another post.


Radiant Heat Floors - They're so hot right now

What comes to mind when you hear the word "luxury?" Perhaps you think of a private plane, expensive cars or huge homes in exotic locations? When I think of luxury I tend to focus on the experience rather than the item itself.  Sometimes you can have a wonderfully luxurious experience with a super soft bath towel or while enjoying a delicious meal.

Luxury doesn't have to be super expensive. 

If there was one luxury upgrade I could recommend it would be radiant heat flooring.  The experience of waking up on a chilly morning and stepping out of bed onto a gently warmed floor can be a little touch of heaven. For clients who are planning a bathroom or kitchen renovation, it's an easy way to overcome the biggest negative of using tile on the floor. No one likes to step onto a freezing cold floor!

Whether you have pets that sleep on the floor, kids that play on the floor or are just looking to make your home a more comfortable oasis, radiant heat flooring can be the touch of luxury you're looking for.  It is an additional expense but the return on investment will pay off with reduced heating bills and the comfort of walking on a surface that hugs your feet with cozy warmth when you need it most.

Heat can be installed under many (but not all) types of flooring. The most common form of radiant heat is using low voltage electricity in a thin mesh that is installed between your sub floor or slab and your finished floor covering. If you want to have every inch of your flooring heated, there are custom mats that can be made to fit the exact dimensions of your space. If you only need specific pathways or locations heated, there are also a variety of standard size mats that can be combined to cover the necessary locations.  Most of these mats can be used under engineered wood, tile, laminate and even vinyl plank floors. *Be sure to check with the flooring manufacturer to see if their warranty will allow them to be installed over radiant heat.


One of my favorite methods of heating tile floors combine the heat element with an anti-fracture membrane that help keep the surface tile from cracking if your subfloor moves or cracks. Not only can you fully customize the locations of the heating element, but the quality of the tile installation will be improved! This method is particularly helpful if your home is on a slab foundation. Temperature is controlled by a thermostat that can be set and adjusted to ensure optimal energy efficiency and comfort. You'll find that the more you use the radiant heat, the less you'll use your old forced air heater!

Pricing can range quite a bit so I recommend getting a quote from your local flooring installer.

Check out Warmly Yours and Schluter DITRA HEAT for more information and to find a local installer.


3 Ways To Refresh Your Home Decor For Free!

One of the easiest and least expensive ways to update the look of your home is simply to move some things around.  You'll gain a fresh perspective on both your interior spaces and your old familiar furnishings by engaging in a little experimentation.   Furniture and other accessories can make a big impact on how dynamic your space feels when you use them in new and unexpected places. 

Here are a few tips to refresh your space!


1)  Rotate your art and pictures.
Start by taking the paintings, mirrors and pictures off the walls and rehang them in  different rooms of your home. You'll be shocked at the new life this one move breathes into familiar pieces just by changing their location!  If your space allows you to move some of your accent furniture you'll find the effect is equally AMAZING!  


2)   Move (or remove) your rugs.  
I regularly switch the rugs in my den, family room and dining room in order to keep the spaces feeling energized and updated.  I also tend to remove the rugs during the Summer months so I can enjoy the beautiful patina of the antique wood floors in my 80 year old home.  By moving the rugs I have a seasonal opportunity to thoroughly clean the wood floors and, if needed, have the rugs professionally cleaned.  


3)  De clutter and refresh your accessories. 
Think back over the past year.  Did you take a vacation?  Did you mark a special anniversary or achieve something that you're especially proud of?  Were there any major family events?  Try to commemorate these life events with mementos, souvenirs or photos that remind you of the best moments of the past year.  Remove and donate the old books that have been parked on your book shelves.  Replace them with something that reminds you of a positive event or milestone.   You'll find your spirits lift as you move from room to room.  I find this practice also helps me be more selective about travel purchases.    


Tip-   Try to collect items that are small and easy to store in a neat and organized way.  I collect silver rings in every new city I visit and have found them to be a wonderful and useful souvenir!